Okay I promise this is the last time this will happen. Actually i can't promise that, but I'll try my best. Originally I was going to use the coconut I prepared in the post before to make my delicious Coconut Bundt Cake but, as you can probably guess there has been a slight change of plans. I thought about it and I decided to make my potluck famous, assortment of macaroons. That's right!, why make only one type of something if they're this easy to make. This is definitely an easier party dessert than a cake, and you don't have to worry about slicing it. I know, I was hoping to eat cake too, maybe next year. But nevertheless these macaroons will be the spotlight of your next dinner party so I hope you give these a try. The post will be up in the next day or earlier so keep checking back for that. And as always,
Chow!
Now I know what you're thinking. Does this mean I have to get my jackhammer out? No silly let's leave the jackhammers for the roads please. Cracking open a coconut is much easier than you think but i can't blame you, even I was a little intimidated at first. It used to be before when I was at the supermarket, I would always try to avoid the coconuts. I couldn't help but feel their "eyes" staring at me, all of them judging and sizing me up, kind of like high-school. But, today I summed up all my courage and went to pick one up and guess what? I lived to tell the tale.
In this lesson I'll be showing you how to crack the code on a mature coconut. This variety of coconut is what you would picture hanging from a palm tree, or at least what I picture. These are not to be confused with a young coconut which are white and look like a pentagon. So today's blog post isn't so much a recipe as it is a very helpful skill. On a sidenote, if you're ever stranded on a deserted island you can thank me for saving your life. I kid I kid - but seriously.
As easy and tempting as it is to buy just pre-packaged coconut, I think this is something all of us should try at least once in our lifetimes. Whether that be for fun or necessity...
So first things first you need to buy your coconut, which is pretty much the same as adopting a child. You need to shake it around to see if the inside has water. If it does, you know your kid is alive. If it doesn't then set it down and move on, there are plenty more live nuts to choose from. Once you've found a full coconut, you need to look into it's eyes. If there aren't any mold or bugs in them then you're good. Take that one home and get on with the prepping.
Also I think you should know that if you forget to pay for your coconut it's technically kidnap so do remember to fill out the required paperwork.
Take your baby and locate it's eyes. Notice that it has three of them. That means someone shouldn't have been drinking while they were pregnant. I'm just joking it's completely normal. One of those eyes will be soft enough for a sharp paring knife to go through. Once you have inserted the knife, twist, thrust, and jab it until you have cleared out a straight shot to the innards of your nut.
OMG That looks 100 times creepier than before! We just gave it a mouth!
Calm done Chef, find your inner Chow. Okay Phew.
Believe it or not now you can pour out the coconut water.
Coconut water is supposed to be super good for you, filled with electrolytes to keep you moving, but not only that, it taste delicious. That's acutally a mandatory step, you have to taste the water. If you've never had coconut water before it has a tropically, some people say bready taste to it, which has some getting used to. If you don't want yours send it to me. But the real reason why I want you to taste it is to check if your coconut has gone spoiled. We've all been there. You say you're going to make it but then you're too lazy to and then by then you've forgotten why you ever bought it but then you remember but then...take a deep breath. It's been three months. That type of spoiled.
Be objective as you can be and if it taste slightly sour then you should switch to your back-up coconut. Which knowing you, you bought the same time you bought the first one because you were lazy. So just go to the store and abduct some new ones.
A coconut has a natural line around the circumference of the nut. This is the weakest part of the coconut and, where you should be hammering away. Hold the coconut in your non dominant hand, and go all donkey kong on it. It's a great way to get all your bundled up anger out. You don't want to hammer on your countertop because that could end really badly.
Once you crack the top off you should have two similarly sized halves. Wrap the two pieces with a kitchen towel securely, so as to not have any shards of coconut fly at you from under. Smash away.
You should have shards of coconut husk and flesh. Take the same paring knife you used before and slide the knife between the flesh and the husk. Pry it off by using the good old force of leverage and throw into a bowl of water. When you are done removing the flesh rinse them well and Ta-da.

At this point I have to apologize. While I was taking pictures my hand slipped from under me and the camera slammed against the side of the table. I don't want to make any assumptions but I think it's broken. That's also why the picture before is so blurry because I used my computer's webcam. The good news is we are nearing the end of this lesson, but the bad news is now I have to find a new camera. May I suggest an early christmas present to my secret santas out there?
All there is left to do is chop, blend, or my favorite grate the coconut - I think I'm the first one to ever try grating coconut ;) - into your desired shape. You can totally toast these and garnish on cookies or muffins. Or you could make american macaroons, not the french ones, which I will demo sometime in the near future. The possibilities are endless. Except, DO not want to do is put it in a smoothie. Mature coconut flesh is much more fibrous than a young coconut's which is the preferred nut for this application. Other than that though, the possibilities are endless!
But that is it for this post, if you liked it or just like me give it an ol' thumbs up and subscribe to the blog. Check back soon when I use this flesh to make a beautiful coconut bundt cake which is to die for so stay tuned. And as always,
Chow!
As an avid follower of health and food crazes, I'm well aware of the coco water rave that has been exploding in the supermarkets. Okay I may be a couple of months late, but, I still have a new, delicious chow-fection to share with you all. This Coconut Bundt Cake is so moist, so tender, and most ironically it's not even remotely healthy. In fact, you might even want to consider just looking at the next post for fear of gaining a pound. But if you're a risk-taker this is the perfect party cake for you and your guests, so i hope you stay tuned. But before I show you that, I want to teach you how to crack open a coconut. You can't make Coconut Bundt Cake without coconut. You didn't think I was gonna let you cook with the "already-made" stuff. Anyways stay tuned for that as well, and as always,
Chow!
This Thanksgiving I'll be showing you how to make your own ice cream. That's right! But now just any ice cream, a Spiced Caramel Ice Cream. Once you go Cold and Creamy you won't go back! Not only is this ice cream easy to make, but it costs a billion times less than in the supermarkets (statistics not to scale).
I spiked this classic creamy vanilla ice cream with autumn spices and smooth thick caramel. You'll be kicking yourself in the head why you ever purchased store bought caramel in the past after you try this recipe. And by the way, to anyone reading this blog it's not carmels. Never pronounce caramel carmel, there's an extra letter after the r. You know what happens when you leave off an extra letter, your dessert becomes a desert.
Now for me, I prefer an American style ice cream. This style is definitely not as rich as a French Style with egg yolks, but who needs the calories. I think the heavy cream is plenty enough rich but mostly I think the egg yolks mask any flavoring you want to add. Some people also like to do a combination of cream and milk. Call me indulgent, or lazy but only cream for me please. How it works is the less water that is in your base, milk i.e., the less ice crystals are in your finished product, which means a creamier ice cream. You should experiment with different proportions of dairy to find your "perfect scoop", or just copy me, whatever you want. But if you do copy me you have to pay a 5 dollars patent use. :)
So to start this ice cream off we need to put our ice cream bowl in the freezer. I'm using a hamilton beach model but a cuisinart would really be best. Now you know what to give me for Christmas--hint, hint. For all of those readers who also have a small ice cream maker bowl just do two batches like I did.
So now that we got that squared away we can begin the cooking, which will totally only take you five minutes. Begin by taking your cream and your vanilla extract and bring that to a rolling boil.
Combine the ginger, nutmeg, and cinnamon together. Don't do what I did in the picture, the spices did not mix with the cold cream. Something about cinnamon and other spices that are hydrophobic, I don't know, I didn't listen much in science class. But anyways learn from my mistake and add 2/3 of your spices after your cream has come to a boil. Reserve a pinch of the spice mix for the caramel.

It might not look like it's combining but keep stirring and most of it will work itself in. If you are worried that your spices aren't combining well with the cream don't be. Even my batch turned out great and I'm as smart as a doorknob. When we put this in the machine all those spices will evenly distribute and you'll be left with nice little specks of cinnamon and ginger. With your spices you are going to add the sugar and the salt. Salt is very important to balance out the sugar and bring out the spices so please don't forget to add that. Once you have thoroughly combined the flavorings throw it in the refrigerator cool slightly. And by the way please do not literally throw your mixture in the fridge, you'll just make a mess and a fool out of yourself.

At this point you can set up your machine. Take the bowl out of the freezer, which should be ice cold because you left it in there overnight, don't try to cut corners or else your cream will never ice. After twenty minutes take out the ice cream from the refrigerator You should have a yellowy film of spice and cream on top of the mixture, just stir that back in. Pour it in the machine, turn it on, and get your caramel started.
To be forewarned if you are clumsy or have parkinsons please do not make this sauce, have the ones who you care about less like the kids or your little brother make it for you instead. Also in an effort to clean as little dishes as possible, use the same pot you used to make the ice cream in--we want to work smart, not hard.
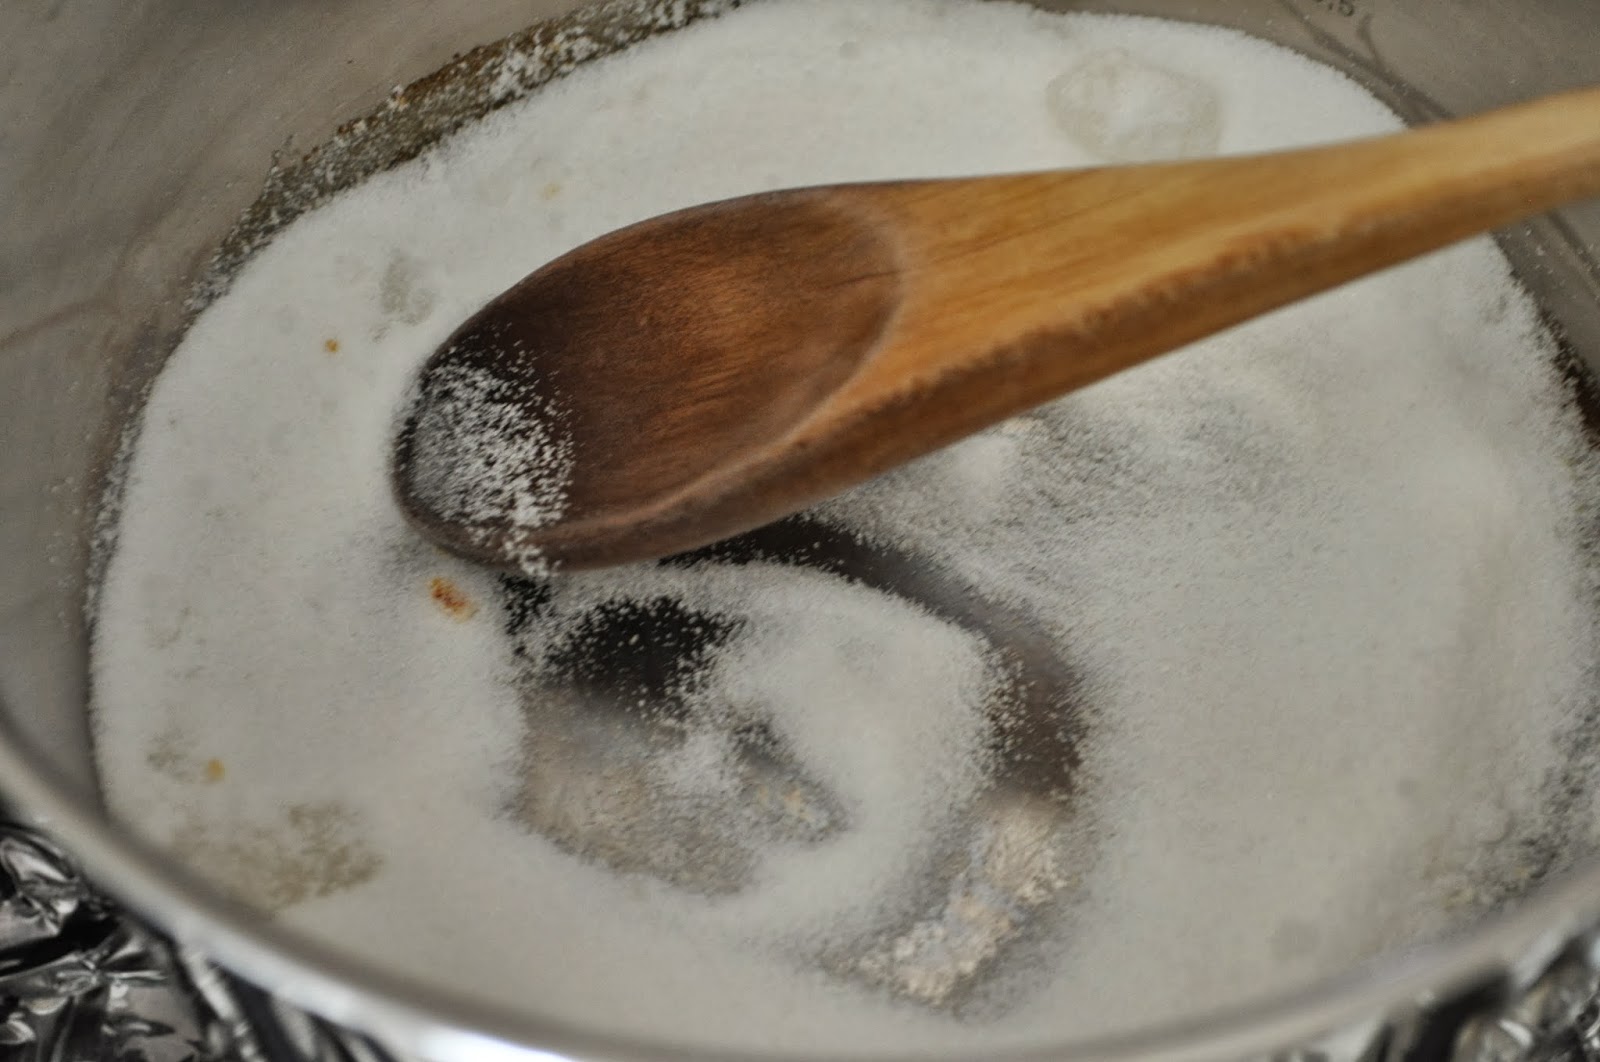
Pour in the sugar and a teaspoon of water-- the water is just to start the melting process. Whenever I make caramel I always go through the same process.
I look at it.

I wonder what I did wrong.
I get sad.
I get optimistic.
I burn it.
I start over. I didn't want to show you the pictures where I burned it.
But I eventually succeed.
Cook the sugar on medium high until it turns a light amber color which will take about 3 minutes, just look at the picture. At this point shut of the flame and wait a couple seconds. I just stare at it. It'll continue to get darker from the residual heat. Once you think it is the right color get ready, you know what caramel looks like. Be very careful. Throw in your chunk of butter and stir it in with a long wooden spoon--a freakishly long chopstick will do great. Because the sugar is so molten hot it's going to make the butter very mad. After the butter has melted in add your cream. Keep in mind that the sugar does not like cream either.
Add in a pinch of the remainder spice mix that we used for the ice cream, and throw in a generous pinch of salt--I used sea salt. You know how good salted caramel tastes, so be generous with the salt.
Oh wow, doesn't that sauce look so sexy. I just want to lick it off the bowl and swirl my finger in it all day--sorry i was getting a little pg 13.
You might think it looks a little thin but it'll thicken up when it gets cool. Once it is sufficiently cooled, with the mixer running, drizzle in the caramel into the ice cream. Stop once the caramel has swirled. You should have caramel to spare. If your ice cream maker only works with the lid on, swirl in your caramel with a toothpick.
Freeze the ice cream in a container and serve with whatever toppings you want. Scroll down below for all the ingredients, and as always,
Chow!
For the Ice Cream
3 cups of heavy cream
3/4 cup of sugar
1/4 tablespoon of ground ginger
1 tablespoon of cinnamon
A pinch of nutmeg
1/2 teaspoon of vanilla extract
pinch of salt
For the Salted Caramel
1/2 cup of sugar
1 teaspoon of water
3 tablespoons of butter
1/4 of heavy cream
And sea salt
You Might Like:
Dairy Free Strawberry Banana Ice Cream
Mini Blueberry Tarts
Faux Macaroons
Type in a Recipe or an Ingredient