
Sunday, February 16, 2014


Thursday, February 6, 2014
Faux Chocolate Macarons - Easy and French...It can't be

Whence back in the olden times of autumn and such, I wrote a column on how to make your own Macaroons. Like I explained there's a difference between a Macaroon and Macaron, one is the coconut meringue drop and the other is the French cookie respectively. I also said that one of these days I would show you how to make a French macaron...but today isn't that day. Today I'll be showing you how to make my PATENTED macaron making method that doesn't require any skill or talent whatsoever, traits I know very few of my followers possess. Also on a totally unrelated note, every second you spend on this page is costing you a million dollars in patent and usage fees so, read quick. If you search through youtube on "how to make a macaron", everyone says how difficult and time consuming these little cookies are. I know from experience that after watching thousands (a little exaggeration) of those macaron how to videos that you get discouraged and end up reverting to the easier, more mundane desserts in the book. But, be not discouraged anymore because Chef Chow is here to save the day. My macaron method is simple, easy, and at the end of the day, taste equally if not better than the macarons you see all the professionals make. My secret? Well you're going to have to scroll down to find out.

When you go to your local fancy French patisserie and make the decision to indulge on one of those one-bite French wonders, the only thing you're wondering after you eat it is why you spent 3 dollars on that <than stale cookie. The truth is if you want something done right you have to do it yourself. And now you can add macarons to that list. This Valentine's Day make this cookie for that someone someone you like and I'll guarantee you'll get married have kids and be a billionaire. But enough with all this by-filler, I'm getting hungry so read faster so we can get started!
Any good macaron, if you didn't know, starts with a meringue base. So that's where will begin. Start by preheating the oven to 200 degrees and setting your rack to the lower third slot of your oven. Yesterday someone showed me this video on how to quickly separate an egg so I decided to test this and it and you know what, it worked. I know, that trick mind boggled me too. I also know it's sad that these are the things that boggle my mind.

 |
| Left is Superfine, Right is Regular |
Now this is the only fancy step, and you could surely do without it, I just think if you're going to put the name macaron on it, it has to show a little elegance. Take 3/4 cup of sugar and blend it in either a blender, or a spice grinder. What we're doing is creating superfine sugar which will give these cookies a glossier shine and a better texture. Now that you have that readied up you can put a whisk to your eggs.
 |
| It's a heart, well trying to be |

Add the sugar in small increments. When all of your sugar has gone in continue to whisk until stiff peaks. If you haven't caught on yet, stiff peaks look this and keep their shape when you flip your whisk over.

Whisk in your cocoa powder and vanilla. Resist the urge to pour in a lot of vanilla. Vanilla extract is strong stuff and if you pour in too much your cookies will taste like candles. You know you're done when you can't see any more cocoa and the meringue looks delicious. What! That's it? I want my money back. Where's all of the fancy ingredients and the difficult steps. Were you not listening, this is a faux macaron.

Pipe 2 inch rounds on parchment or a silpat. You want to avoid greasing the pan because I've read instances where it weighs down the macaron, or stuff like that I don't know, just don't take the risk. Bake for 1-2 hours, you're the judge. If you want a chewier macaron try one at the 1 hour mark. If you want a crunchier macaron bake it for the full 2 hours. I'd suggest taking them out around 1 hour if you want a more authentic macaron texture. However, after you are satisfied with the texture of your cookies leave the door ajar and let them cool for two hours longer. Then you're ready to fill.


When you bite into one of these you first crack into that crisp shell but then your teeth sink into that chewy center, and that nutella, it's almost too perfect to describe...actually it is too perfect, I'm just gonna stop right here.

So I hope you learned something valuable from this page of nonsense that is my writing. As always I'm so grateful for all of you that made it this far. Comment below what you thought about this recipe, improvements, support, or future chow-fections. And as always,
Chow!
Recipe
3 egg whites, at room temperature
1/4 teaspoon cream of tartar
3/4 cup granulated, superfine sugar
1/4 teaspoon vanilla
4 tablespoons unsweetened cocoa
Nutella for filling.


Monday, January 27, 2014
Peanut Butter Cupcakes - Nutty Personal Only

Every morning for the past month I've been eating Peanut Butter Sandwiches. Two toasted slices, spreaded with two tablespoons of peanut butter on the toasted side while it's still warm and folded in half. The bread is soft, but crispy on the inside filled with gooey, peanut buttery goodness, it's been the highlight of my day for, like I've said, the past month which is - pretty sad. But because I enjoy my preday peanut butter sandwiches so much, I decided to make a peanut butter dessert that paid a very special homage to that.

These "Double" Peanut Butter Cupcakes are moist and dense on the inside but light, crispy and golden on top. Which aesthetically doesn't matter because we're just going to cover it with a delicious Peanut Butter Frosting. However texture wise it almost exactly replicates what I love so much about my morning Peanut Butter Sandwiches.
Usually cupcakes are way to sweet, especially the frosting, which is why I prefer to make my own. And not to toot my own horn but, I think my frosting is the pandemic to curing world peace. All in all once you try these I think you would all agree that this cupcake is a peanut butter lovers dream dessert. So be sure to stick around so you can learn how you can make these delicious chow-fections!

The first step is to preheat your oven to 350. Using a mixer cream together butter, peanut butter, and sugar until smooth and light in color. I think it goes without saying that your butter should be room temperature. Once everything is nice and creamed, add in an egg and a drop of vanilla extract.

In another bowl whisk together your dry ingredients to ensure their are no large lumps. Whisking achieves the same goal as sifting but instead of making a mess all over the countertop you keep it in the bowl. Begin by beating in 1/4 cup of milk to loosen the mixture. Then add half of the flour. Make sure all of the flour is incorporated before you add in another 1/4 cup of milk. Alternate with the rest of the flour and finally finish with the last 1/4 cup of milk. At this stage you can switch to a spoonula because we don't want to overmix the batter.

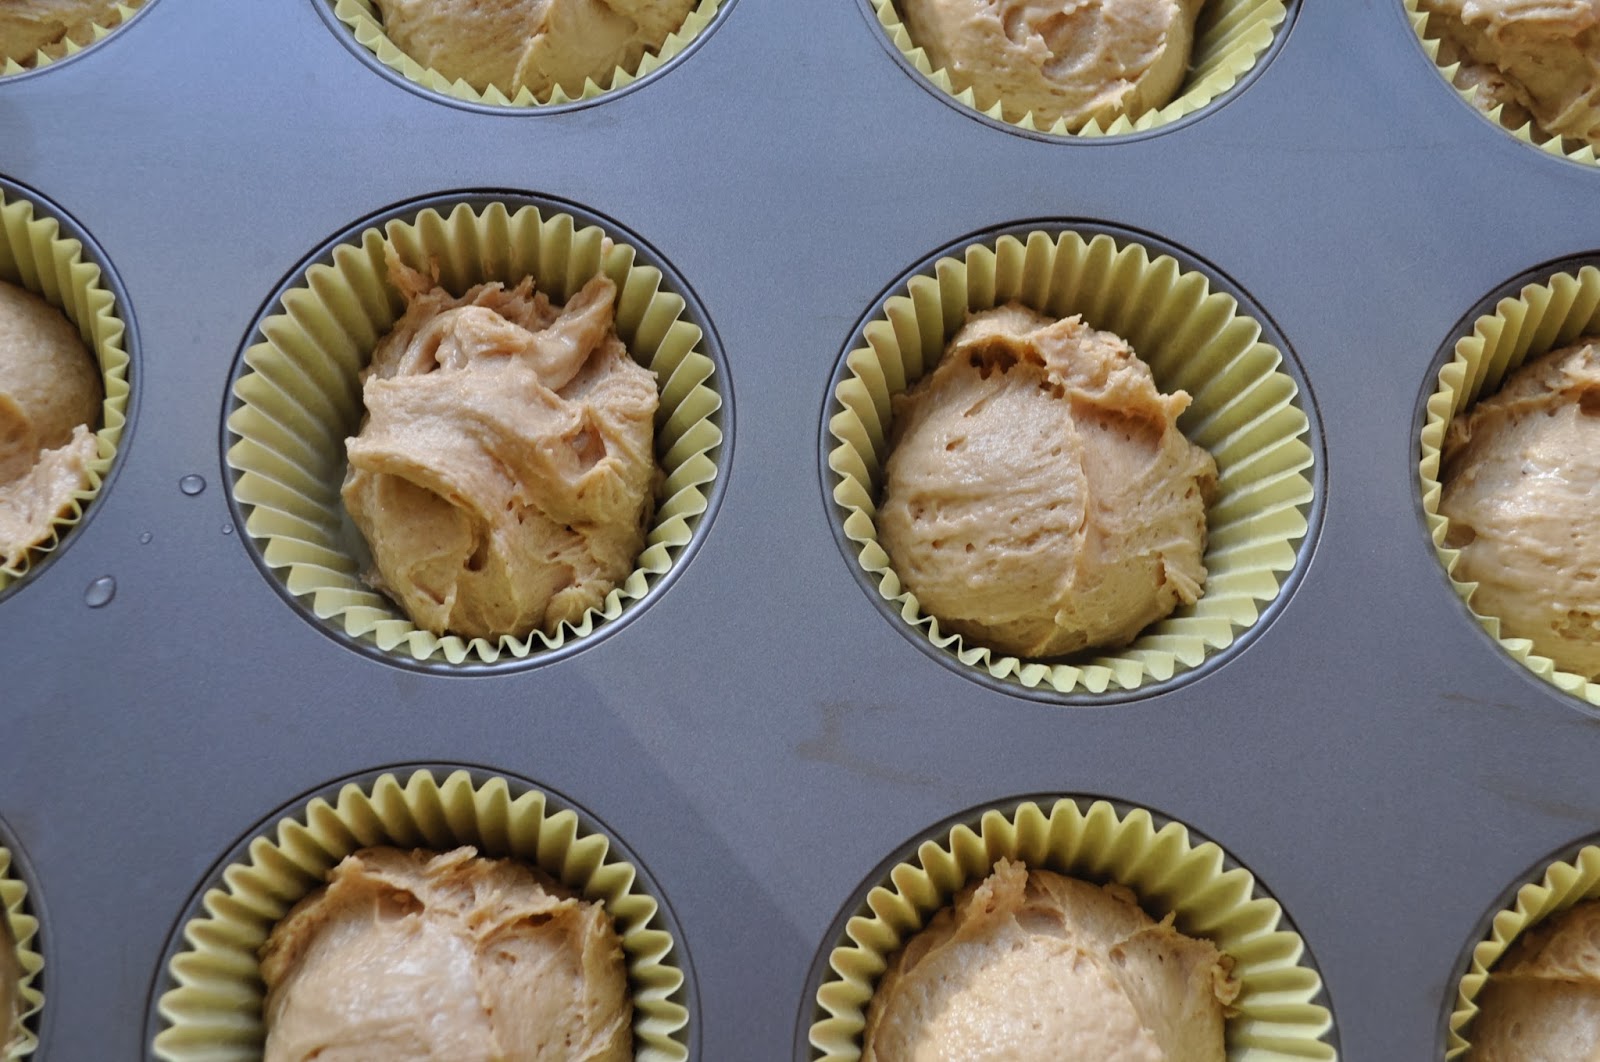
This recipe will yield exactly 18 cupcakes, which means you should fill each cupcake tin about 2/3 of the way up. For this recipe, because this is a peanut butter cupcake, I used yellow cupcake wrappers. However if you didn't have those just try to choose ones that are peanut butter looking, like a brown or orange. Bake for 18-22 minutes or until a toothpick comes out clean and the top is golden. Let these cool on a wire rack.

While these are cooling you can make your frosting. This is super simple. Take peanut butter, confectioners sugar, honey for stability, and vanilla and whisk this together. Add tablespoons of milk until you've reached a frosting consistency.
Ten minutes later your cakes have probably cooled enough to frost. If you have a piping bag that would be ideal, but for me I just used a plastic bag with the corner cut off. For this cake I think it's best to use the largest piping tip you have because I think thick swirls of frosting look the best.

Double Peanut Butter Cupcakes are the perfect dessert for the nutty people in your life. I personally enjoy a tall glass of milk with this cupcake because I find the cake is very dense and you'll need that something to wash it all down.
As you know peanut butter works all kinds of wonders with different flavor profiles like jam, and chocolate. For fun variations you can add chocolate chips into the cupcake batter, or swirl some raspberry jam into the frosting. There's an infinite amount of possibilities, okay...I'm not going to BS you, there are probably ten more variations you can do with this. But like you already knew what I was going to say, anything you try will taste delicious. Just remember to be creative and push the boundaries. That is it for this recipe, hope to see you next week. And as always,
Chow!
Recipe
For the Cake
1/3 cup butter, softened
1/2 cup peanut butter
1 1/4 cups packed brown sugar
1 egg
1 teaspoon vanilla extract
2 cups all-purpose flour
1/2 teaspoon salt
1/2 teaspoon baking powder
1/2 teaspoon baking soda
3/4 cup milk
For the Frosting
1/3 cup peanut butter
2 cups confectioners' sugar
2 teaspoons honey
1 teaspoon vanilla extract
3 to 4 tablespoons 2% milk
Subscribe to:
Posts (Atom)