Showing posts with label chocolate. Show all posts

Tuesday, February 25, 2014

Flat and Chewy Chocolate Chipped Cookies


Stop! Slowly read these next sentences with all your might and attention. This...is...the...best...chocolate...chip...cookie...recipe...in...the...world. Got it? Good. Okay, I think we all know that nothing is better than a freshly baked chocolate chip cookie. Chewy, chocolatey, and warm. Am I right or am I right. But no one likes those doughy dry mounds of crap people call cookies these days. That's why this week I'm bringing back the good ol' days with America's favorite cookie, The Chocolate Chip. 


Howard Taft. I approve of these cookies. In fact my pockets are full of them.

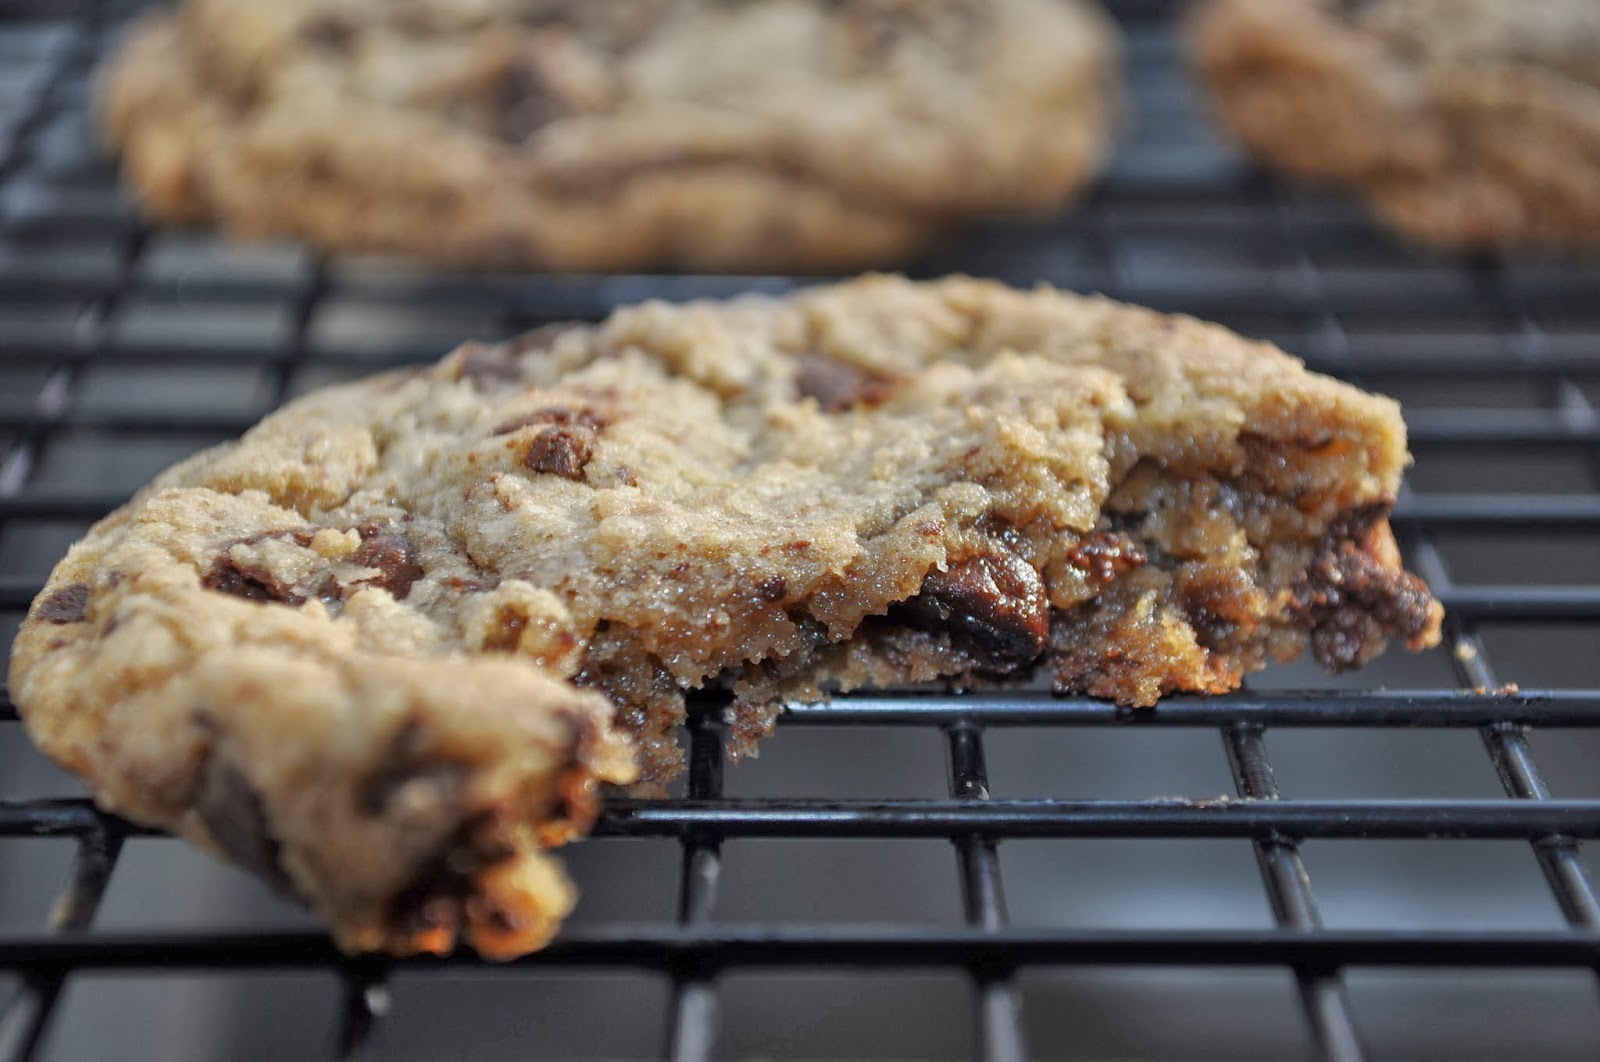
The best types of chocolate chip cookies are the flat and chewy ones. I even prefer them to be slightly bendable. That's the hallmark for a really good choco-chip. Not too sweet, and dotted with chips of chocolate. This recipe is all that and more. If you follow this recipe to the period, I can guarantee that you will be presented with a batch of the most perfect, classic chocolate chip cookies you have ever tasted and or seen. The ones Ben Franklin, and Howard Taft would be proud of. And you can be sure President Taft had a few cookies in his day.


But before I begin this recipe I want to set straight a stereotype that has been bugging me for quite a while. The truth, whether or not all grandmothers know how to make chocolate chip cookies. The answer is they do. In fact once a mother becomes a grandmother they are promptly possessed with the ability to create the perfect chocolate chip cookie. So in the spirit of pursuing the best chocolate chip cookie product I could possibly deliver to you, I kidnapped my grandma from Atlanta to help me with this week's chow-fection. (She's here. She is just a little camera shy.) Oh yes, Asian Grandmas make the best Chocolate Chip Cookies. Thank you Ah-ma for being here and helping me with the blog <3. 


First we'll prepare the dry ingredients. Measure out flour, baking soda, and salt and combine it in a bowl. Take 2 sticks of butter, that's 1 cup, and melt it slowly over low heat. I'm not sure if there's a scientific reason why you should melt it slowly but grandma said it so grandma got it. I do know that melting your butter, as opposed to leaving it cold or room temp, makes for a chewier cookie. And adding all the butter that we are, the cookie will melt down in the oven and become nice and flat. 


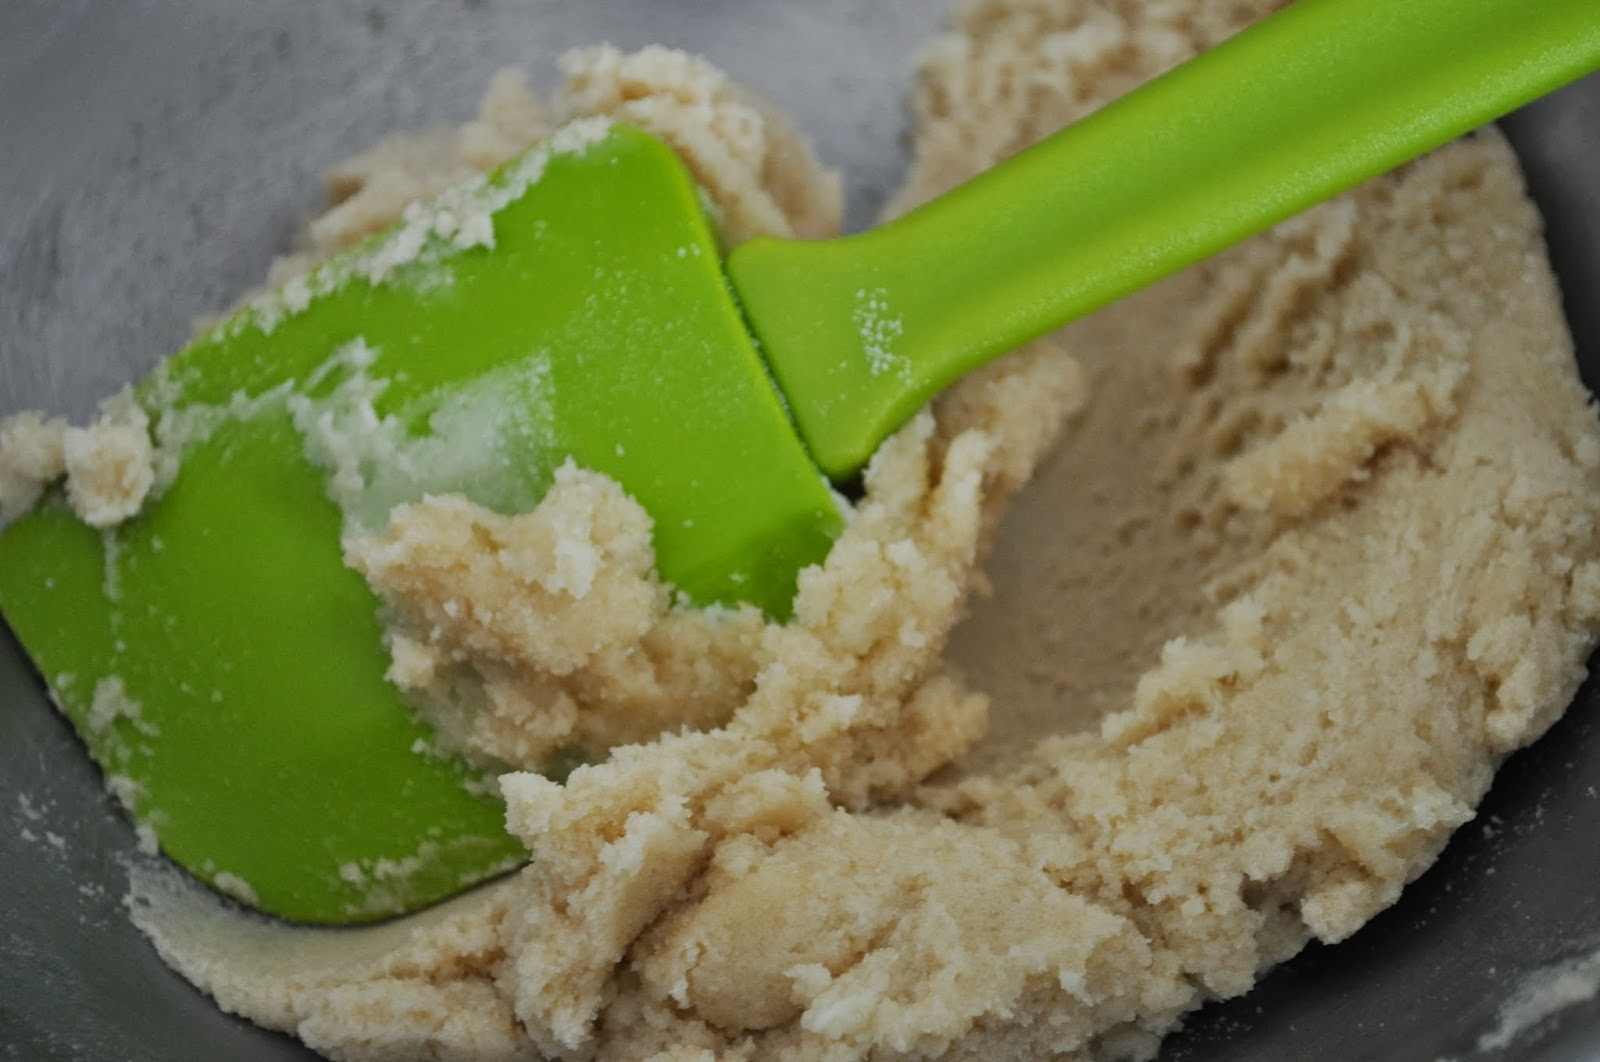
In another bowl add your brown and white sugars. Cream together your butter and sugar until barely incorporated. The key throughout this cookie making process is not to overwork the dough. Mix just enough to get by. The same concept goes for homework and chores. 


Traces of flour are okay because we still have to mix in the chocolate


Next add in an egg, your vanilla extract and milk. Slowly combine your dry ingredients on low speed. When you see that the only flour left is on the sides of the bowl stop mixing and switch to a spatula. Go through the dough to make sure all the flour has been mixed through. 


Now that we've finished the cookie part of this Chocolate Chip Cookie, we need to prepare the chocolate chips. After all this recipe is called Chocolate Chipped Cookies. Like Chipped as in chipping wood, and chip as in chocolate chip. Am I right. Okay enough with the bad puns...well seeing that I already put it in the name we can't really make it go away. Anyways take 2 cups of chips and chop them up on a cutting board. You're not looking for a super fine shaving, just small chunks of chocolate. I think this better distributes the chocolate throughout the cookie and gives it that chocolatey swirled finish. Once your happy with the size of your chips, mix it into the rest of the batter. Remember not to overmix.  


The last step is to leave it on the countertop to rest for an hour. This is another one of those steps that I just don't understand. Maybe the gluten in the flour has to rest. I don't know. All I know is that I don't know how these cookies would have turned out if I hadn't done this step so perhaps it was necessary. I guess it's just one of those unexplainable grandma magic steps that you have to comply with. 


While you're waiting wash the dishes, do your homework, take out the trash, oh my goodness I sound like my mom. Anyways, the point is your dough doesn't need to be babysat for the next hour so do something productive. Or you could prep your cookie sheet. Line your pan with aluminum foil and grease it up whichever method you choose. Either with the grease paper from your butter or with veggie oil spray. You don't need much to keep these from sticking because we have so much butter in the cookies themselves. 


With a normal ice cream scoop (About 1 1/2 tablespoons), you can yield 6-8 cookies per 9 by 13 inch pan. Do not try to be a hero and fit a dozen on a pan because these will spread out, quite a bit. You could, once you portion out your balls, roll them into perfect spheres so your cookies come out perfectly round but I'm far too busy to squander it on the inconsequential. Plus I can appreciate a rustic looking product, it's homemade after all. 
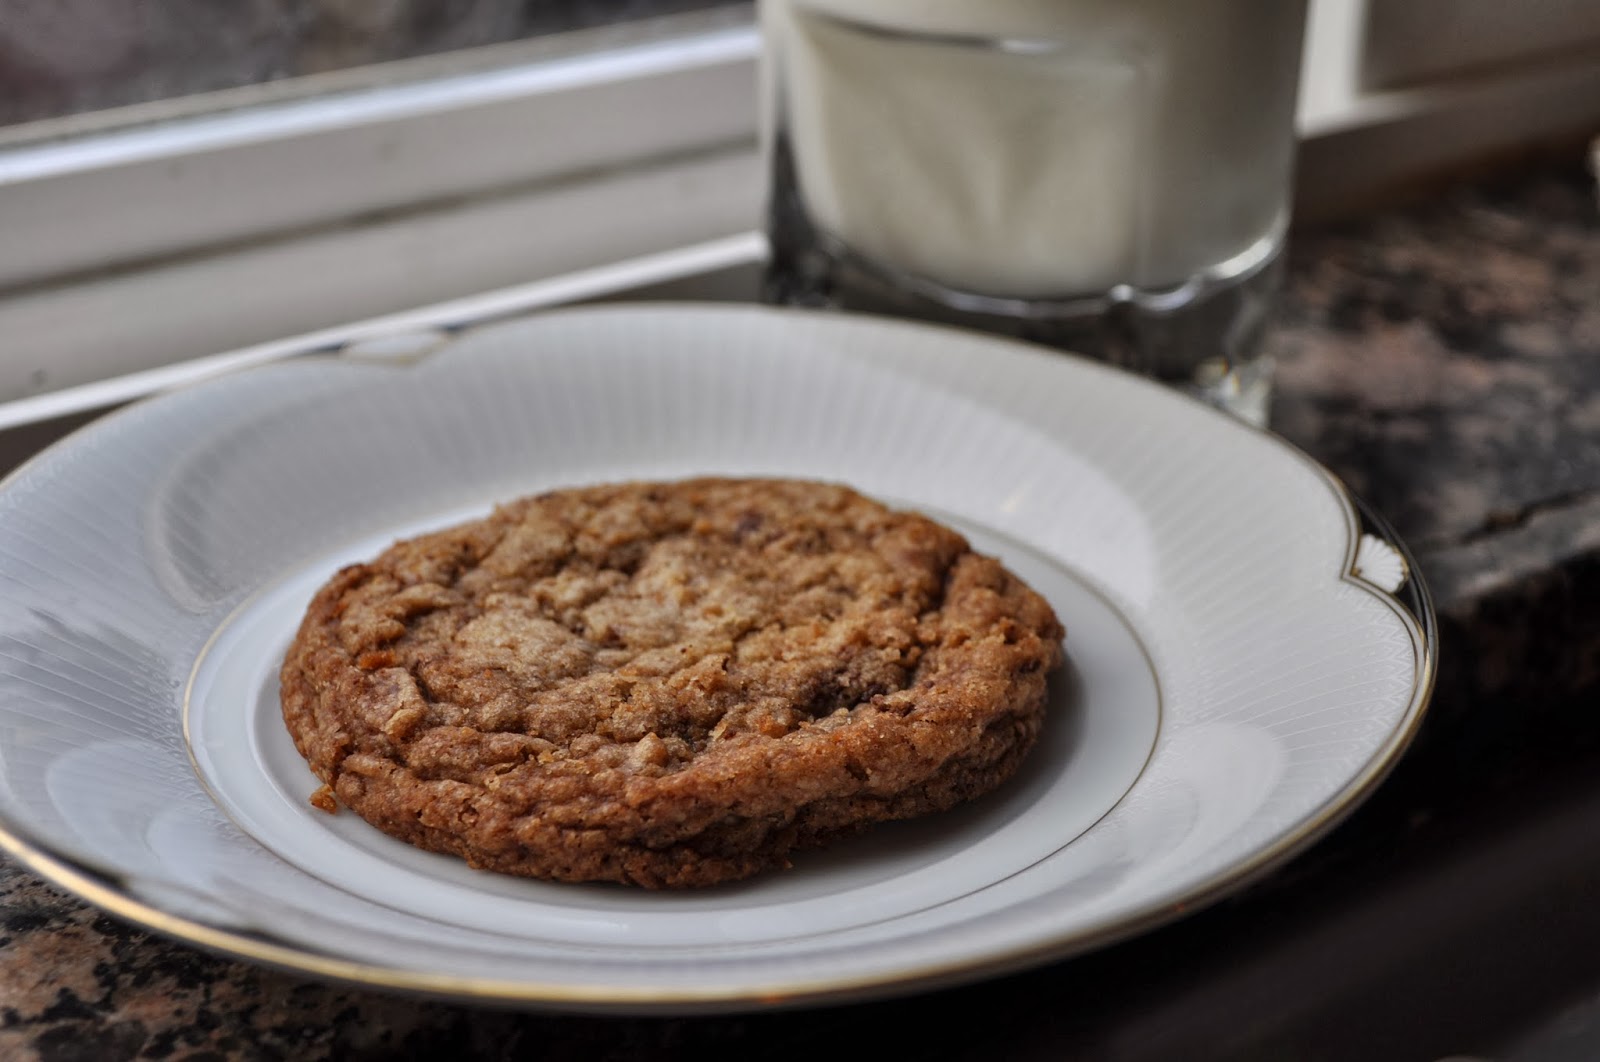


Wow, I would be jealous if I were you. Forced to read the end of this blog without a cookie. Good thing I'm not you. I'm actually eating a cookie right now as I type. Shoot all the keys are covered in chocolate. That's what I get for flaunting my cookie prosperity. But in complete seriousness these cookies are the BEST Chocolate Chip Cookies I have ever had. They perfectly embody those fresh warm grandmother cookies we all have grown to love and reminisce about in the middle of the night. The only difference is now you don't have to mark the one week out of the year that your grandmother comes to visit because now you can make these whenever you feel like it. So I really hope you all get your aprons on and make these cookies because your tummy will surely thank you. Thank you Ah-ma for the recipe and helping me today. I love you. And I love you all (Now I'm talking to you, my readers). See you next week with another chow-fection. And as always, 

Chow!


Recipe
2¼ cups flour
1 tsp baking soda
1¼ tsp kosher salt
2 sticks (1 cup) unsalted butter, melted
¼ cup granulated sugar
1½ cup dark brown sugar, packed
1 egg
2 tbsp milk
1/2 tablespoon vanilla extract
2 cups chocolate chips, chipped


You Might Like:

Crunchy Chewy Orange Chocolate Cookies
Momma's Sour Cream Cookies
Fudgy Chewy Brownies

Thursday, December 19, 2013

Nutella No-Bake Crumb Bars - "Fudge"ddaboudit


Are you cheap? Is it too much effort for you to get a shopping cart so you end up carrying all your groceries? Are you hungry? If you answered yes to any of the questions above  then, this chow-fection is perfect for you. Not only is this easy to make, but you can have better than store-bought fudge in under ten minutes. Yes, it's amazing what sugar, butter, and chocolate can do in the same amount of time it takes for you to take a dump. And although these bars are certainly fudgy I wouldn't necessarily call them fudge. When you sink your teeth into these bars the chocolate automatically melts on the tongue, but the oats provide a nice chewy, nutty finish. If the kids are itching to give the family gifts this is the perfect activity to get them involved. Not only are these super easy to make, but you're friends and family will finally know that you have the best kids in the family. So scroll down and check these out!


To start I am going to bring my sugar, butter, cream, and cocoa to a boil over medium heat. Once the butter has completely melted and the mixture boils, keep it on the heat for another minute. 


When you're all set add the oats and Nutella and stir it all together. The oats give this a somewhat nutty taste and crunch, and structure-wise they make for crumbtastic fudge.


I'm going to line an 8x8 pan with an aluminum sleeve, and oil it generously with either the paper from the stick of butter, or vegetable spray.


Pour the fudge in the pan and even it off. Make sure you touch every corner of the pan with the mixture and give it a tap on the counter to make sure there are no air bubbles. 


Now once this cools, which will take only a couple minutes, you could certainly cut into it and get your holiday on. But I like to eat this cold so I chucked mine into the refrigerator to set completely. When mine cooled I turned the pan out, and sliced up even pieces. For this recipe with the oats I like a rugged shape to my bars. To do this I chopped down at a slight angle really quickly to shard off large pieces of fudge. If you want you can do the traditional straight cut but whatever fudges you boat. 

You can roll these in anything you'd like, powdered sugar, cocoa powder, crushed pop rocks, but I kept mine plain and simple. Personally I think they taste better this way, or it's because I'm lazy like that but you can be the judge of that. 

There is one thing you have to be careful of. If you put too many oats in the fudge then they will not cut straight. Bits and pieces of fudge clumped with oats will fall off but do not be sad. These crumbs are perfect for a breakfast parfait. All you need to do is layer yogurt with your fudge crumble and berries and you have a fantastic morning snack. 


But that's the end of this chow-fection. I hope with your help we can make this christmas the fudgiest, bestest christmas there ever was. And as always, 

Chow!

Recipe
2 cups sugar
4 tablespoons cocoa powder
1 stick butter
½ cup heavy cream
½ cup Nutella
1 tablespoon vanilla extract
2 cups rolled oats


You Might Like:

Crunchy Chewy Orange Chocolate Cookies
Chewy Fudgy Brownies
Mini Blueberry Tarts

Tuesday, December 10, 2013

Crunchy Chewy Orange Chocolate Cookies - Happy National Cocoa Day

Instead of the traditional single bite shot, I decided to go with the more daring double bite.

As you all know on December 12th it's National Cocoa Day! So in recognition of this truly special food holiday, I decided to make a chow-fection that embodied everything I love about cocoa, while presenting it in a shape we all know and love. Thus the birth of the Crunchy Chewy Orange Chocolate Cookie, and the extra fold in my love handle. But we can work that off later however there's no better excuse to make these cookies other than right now. Using a little bit of my scientific knowledge I was able to combine my two favorite textures to create a cookie unlike any you have ever tried, so stay tuned for the secret shortly. But without further-ado let's get started! 


To begin I'm going to whisk together my All Purpose (AP) flour, my salt, baking powder, and cocoa powder. You don't need to dirty a sifter when whisking proves just as effective. 


In another bowl you want to cream together your butter and sugars until light and creamy. The reason why I use a brown and white sugar is because I want that chewy rich texture that the molasses in the brown sugar provides. If you use a stand-mixer fitted with a paddle it'll take about 3 minutes but I'm just gonna do it the ol' fashioned way. With my lime green spoonula I'm gonna press together the softened butter and my sugar against the side of the bowl with the tip, and continue doing that for 4 minutes or, until the mixture is homogenous. Right about there. 


When you have that beat in the eggs and vanilla. 


Fold in the dry mix until just about combined and mix in the orange juice and zest. Don't let the picture fool you. Although the spoonula was used in the folding process, I found it much easier to just get dirty with my hands. For dignity purposes I didn't show you the pictures of me cleaning my hands because I think you know what I did instead. At this stage the dough will be fairly stiff. Remember that overmixing the dough will make these cookie tough. 

By experience I know Santa does not like tough cookies, that's why last year he didn't come to our house. Hopefully this year I've learned my lesson and can resist the temptation. So at this point your dough should be nice and thick. Although I did not, white chocolate chips would have made this cookie that much better, aesthetically and taste wise so add them now if you wish. You could wrap this up and freeze for up to two weeks if you didn't plan to use it right away. Regardless wrap the dough and chuck it into the fridge to harden for 30 minutes. This also gives the cookies a chance to rest so the flavors meld and are fully awake when we bake. 


Take a tablespoon and measure out equally sized cookies. It really doesn't matter how large you make them as long as you adjust your baking time. Roll them into a ball with your hands and place them on a greased baking pan a couple centimeters apart. To make professionally beautiful balls dip your hands in water so you don't get dirty and the cookies shine. You should be able to make two pans. Or four pans of six if you want to take beautifully spaced pictures. 

Bake them in a 360 degree oven for about 12 minutes or until the top is dry, that's the key. If you made larger cookies all you need to look for are that the tops are dry. This makes the perfect cookie every time. While the cookies are baking I thought this would be the perfect time to lecture you on what goes on in the oven as the cookies bake.  

At 92 F butter melts. This is why our cookies spread out. Because butter is an emulsion, which means it's a combination of oil and water, as it melts the water molecules are released. As the cookies get hotter the water turns into steam which expands and tries to escape through the cookie walls. As you know, water boils off at 212 F so like a patty of mud drying in the sun your cookie will stiffen. The steam that bubbles away leave airy pockets in the cookie, this makes it light and delicate. Arguably cooking's tastiest chemical reaction occurs at 310 F, these are called Maillard Reactions. They occur when proteins and sugars break down and combine to create ring like structures, which give foods their golden brown color. But Maillard isn't only good for the cookies' appearance. At this temperature it develops a range of nutty rich flavors which give depth and body to milk's best friend. 

The thing that sets these cookies apart is the texture we achieve by turning the temperature up to 360 F. At 356 F caramelization occurs. The traditional cookie baked at 350 never reaches the final stage of the cooking process. This means the sugars inside the cookie break down and crystallize creating a crunchy, crispy exterior, while maintaining a chewy interior. I think this combination of crunchy outside, and chewy inside make this cookie stand out from the norm and is definitely worth the try. However if you prefer the traditional soft cookie just turn the oven down.


So now that I've taught you all the science I know I'm pretty much useless. Leave to cool on the pan for 5 minutes. Transfer to a wire rack and serve warm with milk. Santa will surely come to your house once he smells these cookies. But if he doesn't, don't worry, that's just more for yourself. 


The first batch is on the right, the thinner, chewier, more superior cookie is on the left


If you look at the picture above I must admit, I was not very proud of my first attempt. I wished they were a little thinner and more spread out so once the first batch cooled I transferred them to a wire rack and layered on another batch. This time I made sure to flatten the cookies just a little bit before they went into the oven. As you can see on the right, the cookies were just a little thinner, but the chewiness definitely increased. I like my cookies to be thin and almost bendable, cakey cookies (although the alliteration is uncanny) do not float my boat. 


But I hope you enjoyed this week's chow-fection. The deep, rich chocolatey flavor really balanced out with the acidity of the orange making this a delicious holiday treat. So I highly suggest you make these for your loved ones this holiday season and stay tuned for more! And as always, 

Chow!


Recipe
1 cup all purpose flour
1/2 teaspoon baking powder
1/2 teaspoon salt
1/2 cup unsweetened cocoa powder
8 tablespoons (1 stick) unsalted butter, at room temperature
1/3 cup brown sugar
1 cup of white sugar
1 egg
1 teaspoon vanilla extract
1 tablespoon orange juice and 1 teaspoon grated zest from 1 orange

chocolate chips of your choice (optional, but suggested)

You Might Like:

Saturday, November 30, 2013

Chocolate Bailey's Irish Cream Cheesecake - A Little Booze Never Hurt Anyone

My Photoshoping skills couldn't make up for the fact that I waited way too late to take this picture.

Happy Day After Black Friday I hope ya'll had a wonderful holiday but, it's time to get back to work. Toiling away in the kitchen, testing recipes and writing blogs. I know, such a tough life. I can't complain though if I get to eat cakes like this after; so let's dispense with the cordial banter and get started. 

I'm not saying I'm an alcoholic but, every chance that presents itself I have to take advantage of it. Sometimes I even play a game where I see how much booze I can slip into a dessert without someone noticing. I'm not sure if I won or lost, I can't really remember anything after that. But that's not the point seeing that this blog is about cooking and not about my personal life. 

After foraging through all of my cookbooks I couldn't find a decent cheesecake recipe that ticked all my boxes. Naturally I decided to create my own, knowingly winning over my mom by adding her favorite Bailey's Irish Cream. But then I felt guilty so I made a chocolate mousse to satisfy my dad. This gave birth to a new Post-Black Friday Chow inspired chow-fection. 


Take 3 tablespoons of butter and the cream cheese out to soften. You don't need to do what I did and leave the whole thing out. We'll use them later. So to start we're going to blind bake our chocolate graham cracker crust. When a recipe calls to blind bake something it means to bake without the filling. In your mini food processor pulse together the crackers, the sugar, your melted butter, salt, and cocoa powder. All you want is the mixture to resemble wet crumbs and when you press them together they slightly hold their shape. 


Grease a 9x9 inch pan, I used a spring-form but you are welcome to use any form of pan you want. A very helpful tip I learned is not to throw away the wrapper from your butter. There's always some grease stuck to the paper and you can use that to oil your pan. Dump the crumbs and using your knuckles or the back of spoon, pack the crumbs into one even layer. Bake in the middle of the oven at 400, uncovered, for 6-9 minutes, or until the edges are golden. Although mine tasted good I would have liked a more a chocolatey flavor. So keep in mind that the picture does not represent what yours might look like. In the recipe below I adjusted the measurements. Let it cool. I threw mine in the freezer.. 


Now, while the crust is cooling we can make the cheesecake. Because we had just come back from our holiday shopping I was really tired so I used a hand mixer, but you could totally make this without. Whip the heavy cream and the sugar until it reaches stiff peaks. Reserve that in a separate bowl. Combine the vanilla and eggs and beat until pale and smooth.


Where'd you come from Mickey?
Add 4 tablespoons of brown sugar. This will add a richness that you won't get with white sugar. Your butter and cream cheese should be super soft by now. Cream the cheese and the butter into the mixture until it's nice and smooth. Now it's time to add in the secret ingredient. Well not that secret seeing that it's in the title but anyways add the booze. I really love the flavor and the richness the Irish cream adds to this dish, plus I think it's a delicious variation to the standard plain cheesecake. Lastly toss in 2 tablespoons of instant coffee. I'm sure you knew that coffee and chocolate work good together, but did you know that coffee and Bailey's do as well. So due to the transitive property of equality the three must all work wonders together. Don't give me that look you learned that in 6th grade Trigonometry. 


Fold the reserved whipped cream into the cream cheese mixture and pour onto the crust. Place the cheesecake in a pan tall enough to pour water halfway up the side. Instead of pouring the water in and then moving it to the oven. I put the pan on the oven rack and then pour the water in. It's much easier that way. Turn the oven down to 325 and bake the cheesecake for 45-55 minutes, or until the edges are slightly brown but the center jiggles. 


In the meantime let's make the chocolate mousse. In a saucepan separate 4 yolks and add 2 tablespoons of sugar and 3/4 of a cup of heavy cream. Stir this on medium low or until it can coat the back of a spoon. Strain the mixture to ensure that you're left with a smooth mousse and transfer it back onto the stove to melt the chocolate. I just used the regular, semi sweet chocolate chips that you can find at Costco. Of course you could use good, expensive chocolate, in fact I debated to, but I wanted to make this recipe as accessible as possible to everyone. Turn the heat on low and toss the chocolate in. The residual heat should be enough to slowly melt the chocolate. Also throw in 2 tablespoons of cocoa powder. Because the cacao levels in the chocolate aren't very high, the cocoa powder will give the chocolate a deeper, chocolatey flavor. Add in the tiniest bit of vanilla and two tablespoons of Bailey's. We're not done yet. Take the rest of the heavy cream (1 1/4 cups) and 2 tablespoons of sugar. Whisk this until stiff peaks, just like what we did with the cheesecake. To make this a mousse we need to fold in our whipped cream. Take the first third of cream and stir that in, just to loosen the mixture. After that you need to be careful not to pop the air bubbles. Fold it until you cannot see any streaks of white. Refrigerate until cold. It should be slightly thick but once it cools it'll thicken even more. When everything is chilled, about twenty minutes, top the cake with the mousse. Fridge again.


I made the fatal mistake of waiting until dark to take these pictures so keep in mind that this looks way better in person.


When everyone is ready to eat, unmold the pan and serve. 
The smooth mousse rolls into the light rich cheesecake and the chocolate crust provides that crunch that the cake needs. Not only can you taste the coffee and the chocolate, two combinations that work so well together, but the Bailey's flavor runs throughout. Trust me all your friends will go crazy over this. Thanks for joining me on another chow-fectionary creation. And as always, 

Chow!


Recipe

For the Crust
1 1/2 sleeves of graham crackers
1/2 tablespoon of  white sugar
2 tablespoon of unsweetened cocoa powder
5 tablespoon of butter
pinch of salt

For the Cheesecake
1 cup of heavy cream
3 tablespoons of white sugar
1 teaspoon of vanilla extract
2 eggs
3 tablespoons of softened butter
3 cups of softened cream cheese
4 tablespoons of brown sugar
3 tablespoons of Bailey's Irish Cream
1 1/2 tablespoons of instant coffee granules or 1 1/2 tablespoons of strong coffee

For the Chocolate Mousse
4 large egg yolks
2 tablespoons of white sugar--divided
2 cups heavy cream--divided
1 1/2 cup of semi-sweet chocolate chips--a.k.a 8 ounces of chocolate
2 tablespoons of Bailey's Irish Cream
2 tablespoons of cocoa powder
1 teaspoon of vanilla extract

You Might Like:

Strawberry Cream Cheese Coffee Cake
Churro Balls
The Best Zucchini Bread 

Sunday, November 24, 2013

Assorted Macaroons - Welcome to America


Oh boy! Macaroons! I sure love me some of those mini french sandwich cookies that are soooo in style right now. You're really showing us how to make those Chef Chow? EH-UH! That was supposed to be the sound a buzzer makes. No I'm showing you how to make the american coconut macaroons. You know the you always shy away from because they're way too sweet macaroons. The only difference is, mine are delicious!

Now I know not all of you think that they're overly sweet but I do, and so do the members of my weekly, overly sweet macaroons club. But you don't have to worry because I found two tricks to cut the sweetness of the macaroons so they taste just perfect! The first trick is to toast your coconut flakes before you actually bake the cookies. This way the initial sugar from the sweetened coconut gets caramelized, and all you're left with is a deep coconut flavor. My second tip is to add different flavorings. Macaroons are often too sweet because there's no flour or butter to absorb the sugar. Adding citrus or nuts can balance the flavor, and not to mention show people that you aren't just a one-trick pony. 


This year I made three different flavors, and at the end I couldn't pick a favorite. I made cranberry orange, double chocolate, and an homage to one of my favorite candy bars, "Almond Joy" macaroons. Dare I say they were all equally delicious. So to start these cookies we need to make our macaroon base. Which starts with the toasting of our sweetened coconut shreds. Which will go in a 350 oven. By the way if you want to use fresh coconut click the link to read my previous post on how to do that.

Sprinkle your coconut evenly on a baking sheet and slide them into the middle rack of your oven. Of course I took a picture of my greased mat but I ended up forgetting about it in the sink. Lucky for me though my coconut did not stick so I'm pretty proud of that. Yes, those are things that I'm proud of. Every 5 minutes stir the pan so everything crisps evenly. Your coconut flakes should take between 15- 20 minutes but don't leave the room. Coconut is notorious for burning. If it doesn't see you looking at it it'll get upset so watch it like a hawk...because it'll be watching you. *Dramatic Music*

But on a less creepy note after 15 minutes my coconut flakes looked like this. Oh so beautiful. You could really just eat them like this as a snack but your patience will be rewarded. So the next step is to make the meringue. A meringue is just egg whites beaten with sugar until thick and glossy. This is one of the few things I take out my hand mixer for because it's gonna take a while. Approximately 8-10 minutes with a hand mixer, or a stand mixer. Stop when you've reached stiff peaks. Which basically means that they should be able to hold their shape. You'll know when the wake of the meringue stays it's place. If you're still confused just look at the picture. Remember if your bowl is dirty or if some yolk leeches itself into your egg whites you won't reach desired stiffness. 


It's important that you whisk your eggs long enough because then your macaroons will fall apart. After your meringue has tripled in volume and has reached stiff peaks whisk in your vanilla and salt. 

Switch to your handy dandy spoonula and divide into three parts. Separate into bowls and fold in whatever flavorings you want, including your coconut. You can be as creative as you want in this step. Meringues are basically blank canvases so you can't really go wrong - unless you go wrong. The only thing you want to be mindful of is not to alter the consistency of the meringue. If you add too much liquid then your cookies will fall apart, and the same goes for adding too much other stuff. It's also important not to over mix these. All you want to do is fold the mixture until it's barely combined. Your mindset should be, I still have about 3 mixes left, I'll stop here. Remember when you're scooping these out they will continue to mix. The key is not to destroy those little air bubbles that are trapped in the meringue. You worked hard for those. By the way the variations and flavorings that I conjured up are in the recipe below so pop down there if you can't figure out what to put in yours. 


Now we are going to take our 1 inch ice cream scoop and plop them on a well greased cookie sheet. Try to make them all the same size, you should get about 12 macaroons per flavor. It depends on how precise you were at dividing those meringues, which in my case was not very well, but I have faith that you will do better. You can place these guys fairly close to each other because they won't expand, but for photography reasons I kept them a good distance apart. Place these in the middle rack of your preheated 350 oven, and bake for 15-20 minutes, or until the macaroons are golden brown. When you take these out they will be dry to the touch, the outsides will be golden, but they will still jiggle. That's normal as they cool they will firm up substantially and you'll be looking at one hell of a cookie, if I do say so myself. 

If you made these in the flavors that I suggested you should have three ascending shades of goldenness. The "almond joy" will be the lightest colored, the orange cranberry will be slightly tanner, and the chocolate will be the Tracy Morgan of the three. If you don't know who that is you should know I'm not a racist, but that's the first place my mind went. Just for the record I'm a huge fan so if you're reading this please comment below. 

Once you've finish taking pictures - which is optional, you're done!


I like to serve my assorted macaroons along side some coffee or on a festive holiday platter. Make sure you alternate flavors so people know you took the effort to create different types of macaroons. Why go through all the trouble if the message that, "I'm better than you", isn't getting across. 


Your friends and family will be so impressed that you knew how to make these and so will yourself. These macaroons are lightly crispy on the outside, but super chewy on the inside. My guests said that they weren't overly sweet and that the orange cranberry was there favorite. I still can't choose a favorite, it's like asking someone who there favorite 1 Direction member is, you can't decide. 

But in all seriousness I'd like to thank everyone who read today's post, leave a comment below on how I can improve or if you think I'm perfect. Subscribe if you haven't, and check back daily for new chow-fections. And as always, 

Chow!

Recipe

For Macaroon Base
3 cups of toasted sweetened coconut flakes
4 large egg whites
1/2 cup sugar
1 teaspoon vanilla extract
1/4 teaspoon kosher salt

For Cranberry Orange Macaroons
1/3 cup of dried cranberries
the zest of one orange

For "Almond Joy" Macaroons
1/4 cup of semi-sweet chocolate chips
1/4 cup of chopped or sliced almonds ( I used cashews and they were still delicious)

For Double Chocolate Macaroons
1 1/2 tablespoons of unsweetened cocoa powder
1/4 cup of semi-sweet chocolate chips

*Measurements for each variation are for a third of the base*

You Might Like:

Sweetened Coconut Flakes
Chewy Coconut Bars
Momma's Sour Cream Cookies

Sunday, November 10, 2013

Chewy Fudgy Brownies - Just as the name suggests


This is a message to every home cook out there. Every time you buy a brownie mix from the supermarket God blinds a puppy. See how cute he is. He can't. That's just devastating.


And why would you ever want to buy a brownie mix when brownies are so easy to make yourself...wow that picture is really distracting. Cover that side of the screen with your hand as you try to read this post. 

As I was saying who knows what kinds of yucky stuff they put in those mixes and in the end they aren't really worth it. If you want to cut a year off your life don't you want to do it in style. Of course you do, you aren't stupid...or are you? 

But that doesn't even matter because these brownies are so easy a blind puppy could make it. So to start here are the ingredients. 

1/3 cup butter 

I used unsalted butter, but if you have salted butter that's fine, just don't add the salt in the later steps.


3/4 cup sugar
2 T. water or coffee
2 cups semi-sweet chocolate chips
1 t. vanilla
2 eggs
3/4 cup flour
1/4 t. baking soda
1/4 t. salt
     
Preheat oven to 325. Line a 9"x9" pan with a parchment sleeve or aluminum foil like I did. Spritz with baking spray underneath the sleeve and on top, just in case some slides under and set aside.


In a microwaveable bowl add your butter, sugar, and coffee. If you don't have coffee you could definitely make them with water, but be warned, your brownies won't be as delicious mine. If you're worried that you don't like the flavor of coffee don't be. The coffee will only enhance those chocolaty flavors. 

Once you're sugar has melted into the butter and everything is nice and homogeneous stir in 1 cup chocolate chips. Once the chocolate is melted, add the vanilla. 


You could use vanilla bean, or vanilla paste, or if you have no idea what those are just use vanilla extract. That's what I used. And a tip. Do not add too much vanilla. A little goes a long way and if you add too much then your brownies will have an artificially sweet flavor and that's not delicious. I always use half as much as i think I need. This way you only get the nice floral accent of the vanilla.

Now at this point your mixture should be lukewarm. If it is too hot then your eggs may scramble. Beat in your eggs one at a time until each is incorporated. Now you should have a shiny glossy mixture that is slightly thickened. 

Add the flour, baking soda and salt. Mix with a spatula until flour is completely combined. 


If you like chewy brownies beat the mixture for an additional 1 minute with a spatula. By doing this you work the gluten in the flour which makes your brownies chewier.If you like light fluffy brownies switch to a whisk. You are the master of your brownies.

Stir in the remaining 1 cup chocolate chips. Spread into the pan and bake for just 30 minutes. You have to keep an eye out. Cook it for too long and you will have a cakey brownie. 


I pulled mine out when I stuck a toothpick in it and some wet crumbs stuck to the tip. It'll look like it's barely cooked but don't panic because they will stiffen up substantially once they are cooled. Cool on a rack for at least 1 hour, until the brownies are totally cool. Then use the sleeves to lift the brownies out of the pan. I like to put them in the refrigerator so they're easier to cut, and super dense, but if you don't have my superhuman patience then cut into them when they're room temp. These brownies should yield 16, minus a few taste tests. "You call six brownies a few!" a voice from upstairs calls. Remember no judgement.

But in all seriousness you won't regret taking the 10 minutes to whip these up. They are chewy and fudgy just the way I like them. And that chocolaty flavor is so rich you'll feel like Bill Gates. 


So I hope you make these. As you can see I made them for my munchy, which is what I call my momma. If you want the whole story why i call my momma that leave a comment below. Stay tuned next week, and as always

Chow!

You Might Like:

Flat and Chewy Chocolate Chipped Cookies
Assorted Macaroons
Chocolate Bailey's Irish Cream Cheesecake


Type in a Recipe or an Ingredient