Showing posts with label mousse. Show all posts

Thursday, December 26, 2013

Strawberry Mousse Chiffon Cake - Brought to you from the mystical lands of Atlanta!

Chiffon sounds interesting right? I bet it was the only reason why clicked this link. Well sorry to disappoint you but, a chiffon cake is nothing but a sponge cake in French. Disappointing right…wait, I bet you don’t even know how to make a sponge cake. Hypocritess ;) This cake is light and fluffy, layered with my Five-Second Strawberry Mousse, and covered with whipped cream. For the holidays I flew to Atlanta to see how the great bakers there bake their cakes, and to also share this delicious chow-fection to the entire world (otherwise known as the 5 people who have visted this blog and my immediate family). The recipe demonstrated in this blogpost is none other than of famous Chinese chef, Victor Hsu, also known as my uncle, and also referred to as “who is that guy?” Well you would be right, he is a nobody, but there’s one thing he is known for, Chiffon Cakes. After smuggling from Taiwan the secrets to making perfectly light, fluffy chiffon, he perfected it with his own mad scientific flair. Littered below are his many pro tips on how to make a perfect chiffon cake that will surely impress your relatives and friends this holiday season. So without two twists of a peacock’s feathers let’s get bakin’ so we can get cakin’.


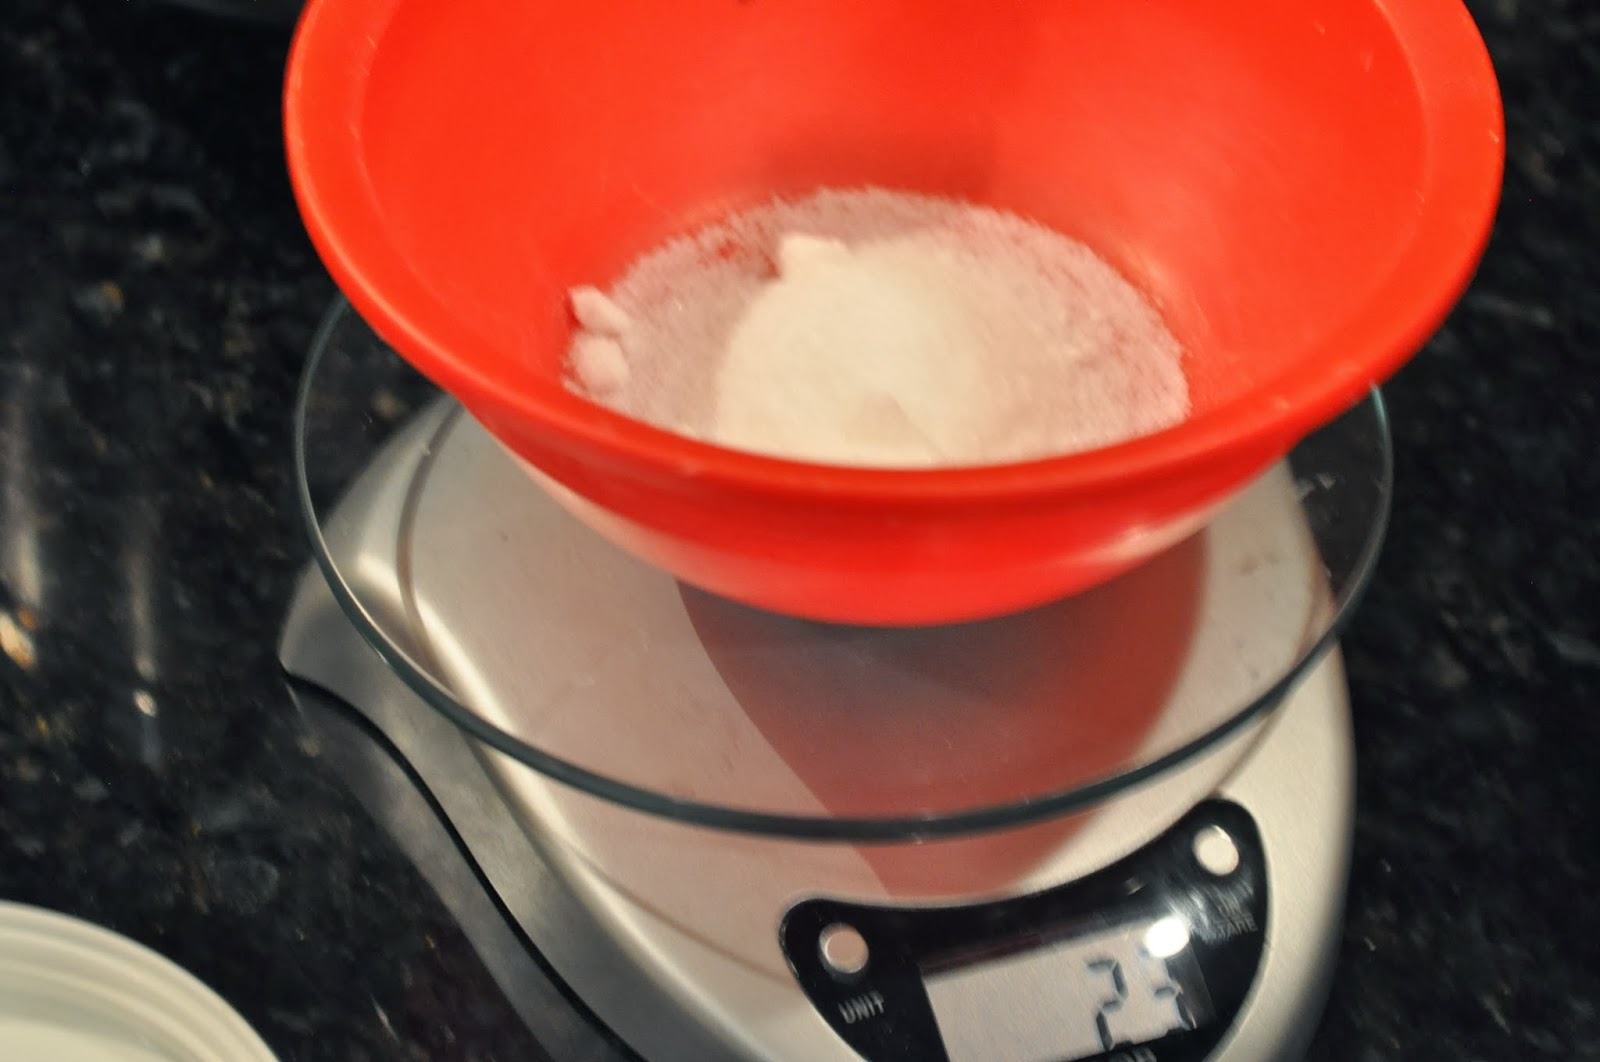
Uncle Vic begins his recipe by weighing out his
 dry and wet ingredients. For me I don't have a digital scale, or any scale for that matter, so in the recipe below I converted all the measurements to volume, however a part of me agrees that weight measurements would be more precise. Once your mise en place is complete we can begin to mix the meringue for the cake. The thing with a chiffon cake is that it doesn't have baking soda nor baking powder in the batter. For a cake to rise you need one of the two components, a mechanical leavener, or a chemical leavener. Usually in cakes and cookies we add baking soda or powder, these are called chemical leaveners. When they are baked they cause a chemical reaction in the batter that rises the cake. In things like puff pastry, or chiffon cake there are certain components in the dessert that cause it to rise. In puff pastry it is because of all the layers of fat and flour that expand when they're stack on top of each other. In chiffon cakes the air pockets in the meringue expand with steam causing the cake to rise. These are called mechanical leaveners. 


To make the meringue we will begin to whip our egg whites. Gradually add in 7 tablespoons of sugar when the whites are frothy and continue to beat until they reach stiff peaks. Just look at the picture. Set the bowl aside so we can make the base of our cake. 


Whisk egg yolks and sugar until they are ribbon-like and pale. This is called blanchiring and it will make sure that our batter is smooth and lump free. Add the juice of about a quarter of a lemon to brighten the cake and lemon zest to showcase that lemon flavor. You could also use a teaspoon of lemon extract if fresh lemons are not in season. Drizzle in veggie oil to ensure that the cake is moist and tender. Add in the water. As you all know water and oil do not combine. If you're batter looks like it's split do not be alarmed, once we add in the dry ingredients everything will mix perfectly. In a separate bowl I want you to combine milk powder, cake flour, and salt until it is lump-free and add it into the cake. 


Stir till it is just combined. We don’t want to over work this, especially when we add in the meringue. You worked so hard for those delicate air bubbles in the meringue, take some care when you go through these final steps. The cake will continue to mix as we fold in the meringue so keep that in mind while you think about over mixing the cake. Begin by taking a third of the egg whites and mixing it into the batter. This helps to loosen the batter before we fold in the rest of the whites. Now comes the handiwork. Gently, gently fold in the meringue scraping from the bottom of the bowl around to the top, letting the bottom batter drop onto the top batter. Continue until almost all of the whites have disappeared. 


If you haven’t before, preheat the oven to 360. Lightly grease an 8x8 spring form pan and pour the batter in. Tap the cake on your countertop to release the bubbles trapped under the surface. This also makes sure that your cake rises evenly and the batter touches all of the corners of the pan. Bake the cake for about 30 minutes, or until the top is golden and a toothpick comes out cleanly. 


Uncle Vic taught me a pro tip that he learned in Taiwan. To defend against deflated and or concaved centers, while the cake is cooling flip it over on a wire rack. Because the cooler denser air surrounding the cake is much heavier than the hot airy cake center of the Chiffon, these types of cakes are notorious for their crater-like centers. By flipping the cake over you prevent gravity from making you look like a fool when you go to serve. But it probably won’t even matter because we'll be covering this entire cake with whipped cream anyways so who would know. You know what, you would know, and so would I, so don’t forget this critical step. Let it cool completely before you unmold it. The best would be overnight in the fridge. 


This cake is thick enough to slice into three layers. I suggest getting one of these turntables for perfect slicing and decorating. Even if you’re like me and cannot decorate for your life, it still makes it a lot easier to mess up your cake faster. So using a serrated knife go around the cake to make sure you have straight level layers. Once you are positive that every layer is perfect go ahead and color in the picture. For some reason slicing a cake reminds of those simpler days when I used spend my days in coloring books. Like for example...two days ago when I was scribbling in my favorite Toy Story coloring book, I first outlined Woody’s shoes before fully coloring inside the picture. It’s the same way with a cake, you have to outline before you cut. I'm not sure if you get the analogy but you get the idea. Now it's time to make the strawberry mousse.


This is my Five Second Strawberry Mousse. The first step is going to the store and buying a can of strawberry topping. You can find this in the pie filling aisle. Normally I wouldnt use this stuff but I think for something like this, where you've just baked an entire cake, this would be a necessary shortcut. The second step is using some of this non-dairy whip topping. 


It's similar to a cool whip except in liquid form. Actually if you could buy real heavy cream and make your own whipped cream, but this is all we had and it’s like ten times cheaper. Whip until stiff peaks, and fold in your strawberry topping. Use as much strawberry topping as you want, or until its to the color you want. If you're feeling daring, you could add fresh strawberries to the mix to cut that richness. And that's done! Now you can layer your cake. 


Take the bottom layer and spread on enough strawberry mousse to barely touch the edge. Remember when you stack up the layers the weight is going to squeeze some of the mousse to the edges so only spread the mousse barely to the edge. Repeat with the next layer. When you go to stack up the final layer flip the layer upside down so it has that professional inverted shape. Cover with regular white topping. You can use cool whip, whipped cream, frosting, or any like thing you can think of. Be creative, this cake is all up to the limits of your imagination. You can sprinkle on nuts or garnish with strawberries, even drizzle with chocolate. And you don’t have to layer it with strawberry mousse, you can make whatever filling you wanted. Like I said think outside of the box and let your wildest dreams run loose. After all if it taste terrible just drop it on the potluck table at your next get together and no one will even say a word. 


But that is it for this chow-fection. I hope you all had a wonderful Christmas, or hannakuh, I hope I spelled that right, I’m sure there are like 20 different spellings of that holiday. Anyways I hope you make this cake for New Years, and from the bottom of our Chowfectionary Studios family (me, myself, and I), I want to wish you all a happy, wonder-filled new years.
 And as always, 

Chow!

Recipe

Lemon Chiffon Cake
3/4 cup of cake flour
5 egg whites
4 egg yolks
4 1/2 tablespoon of milk powder
1/4 cup of vegetable oil
9 tablespoons of granulated sugar divided 
1/4 cup of water
1/2 tablespoon of vanilla extract
1/4 teaspoon of salt
a couple tablespoons of lemon juice
the zest of half a lemon

Five-Second Strawberry Mousse
1 cup of whipped topping
1/4 cup or so of strawberry topping

Whipped Topping for outside slathering
Nuts, berries, or other accompaniments are welcomed

You Might Like:

Roasted Strawberry Tart
Strawberry Cream Cheese Coffee Cake
Non Dairy Strawberry Banana Ice Cream

Saturday, November 30, 2013

Chocolate Bailey's Irish Cream Cheesecake - A Little Booze Never Hurt Anyone

My Photoshoping skills couldn't make up for the fact that I waited way too late to take this picture.

Happy Day After Black Friday I hope ya'll had a wonderful holiday but, it's time to get back to work. Toiling away in the kitchen, testing recipes and writing blogs. I know, such a tough life. I can't complain though if I get to eat cakes like this after; so let's dispense with the cordial banter and get started. 

I'm not saying I'm an alcoholic but, every chance that presents itself I have to take advantage of it. Sometimes I even play a game where I see how much booze I can slip into a dessert without someone noticing. I'm not sure if I won or lost, I can't really remember anything after that. But that's not the point seeing that this blog is about cooking and not about my personal life. 

After foraging through all of my cookbooks I couldn't find a decent cheesecake recipe that ticked all my boxes. Naturally I decided to create my own, knowingly winning over my mom by adding her favorite Bailey's Irish Cream. But then I felt guilty so I made a chocolate mousse to satisfy my dad. This gave birth to a new Post-Black Friday Chow inspired chow-fection. 


Take 3 tablespoons of butter and the cream cheese out to soften. You don't need to do what I did and leave the whole thing out. We'll use them later. So to start we're going to blind bake our chocolate graham cracker crust. When a recipe calls to blind bake something it means to bake without the filling. In your mini food processor pulse together the crackers, the sugar, your melted butter, salt, and cocoa powder. All you want is the mixture to resemble wet crumbs and when you press them together they slightly hold their shape. 


Grease a 9x9 inch pan, I used a spring-form but you are welcome to use any form of pan you want. A very helpful tip I learned is not to throw away the wrapper from your butter. There's always some grease stuck to the paper and you can use that to oil your pan. Dump the crumbs and using your knuckles or the back of spoon, pack the crumbs into one even layer. Bake in the middle of the oven at 400, uncovered, for 6-9 minutes, or until the edges are golden. Although mine tasted good I would have liked a more a chocolatey flavor. So keep in mind that the picture does not represent what yours might look like. In the recipe below I adjusted the measurements. Let it cool. I threw mine in the freezer.. 


Now, while the crust is cooling we can make the cheesecake. Because we had just come back from our holiday shopping I was really tired so I used a hand mixer, but you could totally make this without. Whip the heavy cream and the sugar until it reaches stiff peaks. Reserve that in a separate bowl. Combine the vanilla and eggs and beat until pale and smooth.


Where'd you come from Mickey?
Add 4 tablespoons of brown sugar. This will add a richness that you won't get with white sugar. Your butter and cream cheese should be super soft by now. Cream the cheese and the butter into the mixture until it's nice and smooth. Now it's time to add in the secret ingredient. Well not that secret seeing that it's in the title but anyways add the booze. I really love the flavor and the richness the Irish cream adds to this dish, plus I think it's a delicious variation to the standard plain cheesecake. Lastly toss in 2 tablespoons of instant coffee. I'm sure you knew that coffee and chocolate work good together, but did you know that coffee and Bailey's do as well. So due to the transitive property of equality the three must all work wonders together. Don't give me that look you learned that in 6th grade Trigonometry. 


Fold the reserved whipped cream into the cream cheese mixture and pour onto the crust. Place the cheesecake in a pan tall enough to pour water halfway up the side. Instead of pouring the water in and then moving it to the oven. I put the pan on the oven rack and then pour the water in. It's much easier that way. Turn the oven down to 325 and bake the cheesecake for 45-55 minutes, or until the edges are slightly brown but the center jiggles. 


In the meantime let's make the chocolate mousse. In a saucepan separate 4 yolks and add 2 tablespoons of sugar and 3/4 of a cup of heavy cream. Stir this on medium low or until it can coat the back of a spoon. Strain the mixture to ensure that you're left with a smooth mousse and transfer it back onto the stove to melt the chocolate. I just used the regular, semi sweet chocolate chips that you can find at Costco. Of course you could use good, expensive chocolate, in fact I debated to, but I wanted to make this recipe as accessible as possible to everyone. Turn the heat on low and toss the chocolate in. The residual heat should be enough to slowly melt the chocolate. Also throw in 2 tablespoons of cocoa powder. Because the cacao levels in the chocolate aren't very high, the cocoa powder will give the chocolate a deeper, chocolatey flavor. Add in the tiniest bit of vanilla and two tablespoons of Bailey's. We're not done yet. Take the rest of the heavy cream (1 1/4 cups) and 2 tablespoons of sugar. Whisk this until stiff peaks, just like what we did with the cheesecake. To make this a mousse we need to fold in our whipped cream. Take the first third of cream and stir that in, just to loosen the mixture. After that you need to be careful not to pop the air bubbles. Fold it until you cannot see any streaks of white. Refrigerate until cold. It should be slightly thick but once it cools it'll thicken even more. When everything is chilled, about twenty minutes, top the cake with the mousse. Fridge again.


I made the fatal mistake of waiting until dark to take these pictures so keep in mind that this looks way better in person.


When everyone is ready to eat, unmold the pan and serve. 
The smooth mousse rolls into the light rich cheesecake and the chocolate crust provides that crunch that the cake needs. Not only can you taste the coffee and the chocolate, two combinations that work so well together, but the Bailey's flavor runs throughout. Trust me all your friends will go crazy over this. Thanks for joining me on another chow-fectionary creation. And as always, 

Chow!


Recipe

For the Crust
1 1/2 sleeves of graham crackers
1/2 tablespoon of  white sugar
2 tablespoon of unsweetened cocoa powder
5 tablespoon of butter
pinch of salt

For the Cheesecake
1 cup of heavy cream
3 tablespoons of white sugar
1 teaspoon of vanilla extract
2 eggs
3 tablespoons of softened butter
3 cups of softened cream cheese
4 tablespoons of brown sugar
3 tablespoons of Bailey's Irish Cream
1 1/2 tablespoons of instant coffee granules or 1 1/2 tablespoons of strong coffee

For the Chocolate Mousse
4 large egg yolks
2 tablespoons of white sugar--divided
2 cups heavy cream--divided
1 1/2 cup of semi-sweet chocolate chips--a.k.a 8 ounces of chocolate
2 tablespoons of Bailey's Irish Cream
2 tablespoons of cocoa powder
1 teaspoon of vanilla extract

You Might Like:

Strawberry Cream Cheese Coffee Cake
Churro Balls
The Best Zucchini Bread 

Type in a Recipe or an Ingredient