Thursday, December 26, 2013

Strawberry Mousse Chiffon Cake - Brought to you from the mystical lands of Atlanta!

Chiffon sounds interesting right? I bet it was the only reason why clicked this link. Well sorry to disappoint you but, a chiffon cake is nothing but a sponge cake in French. Disappointing right…wait, I bet you don’t even know how to make a sponge cake. Hypocritess ;) This cake is light and fluffy, layered with my Five-Second Strawberry Mousse, and covered with whipped cream. For the holidays I flew to Atlanta to see how the great bakers there bake their cakes, and to also share this delicious chow-fection to the entire world (otherwise known as the 5 people who have visted this blog and my immediate family). The recipe demonstrated in this blogpost is none other than of famous Chinese chef, Victor Hsu, also known as my uncle, and also referred to as “who is that guy?” Well you would be right, he is a nobody, but there’s one thing he is known for, Chiffon Cakes. After smuggling from Taiwan the secrets to making perfectly light, fluffy chiffon, he perfected it with his own mad scientific flair. Littered below are his many pro tips on how to make a perfect chiffon cake that will surely impress your relatives and friends this holiday season. So without two twists of a peacock’s feathers let’s get bakin’ so we can get cakin’.


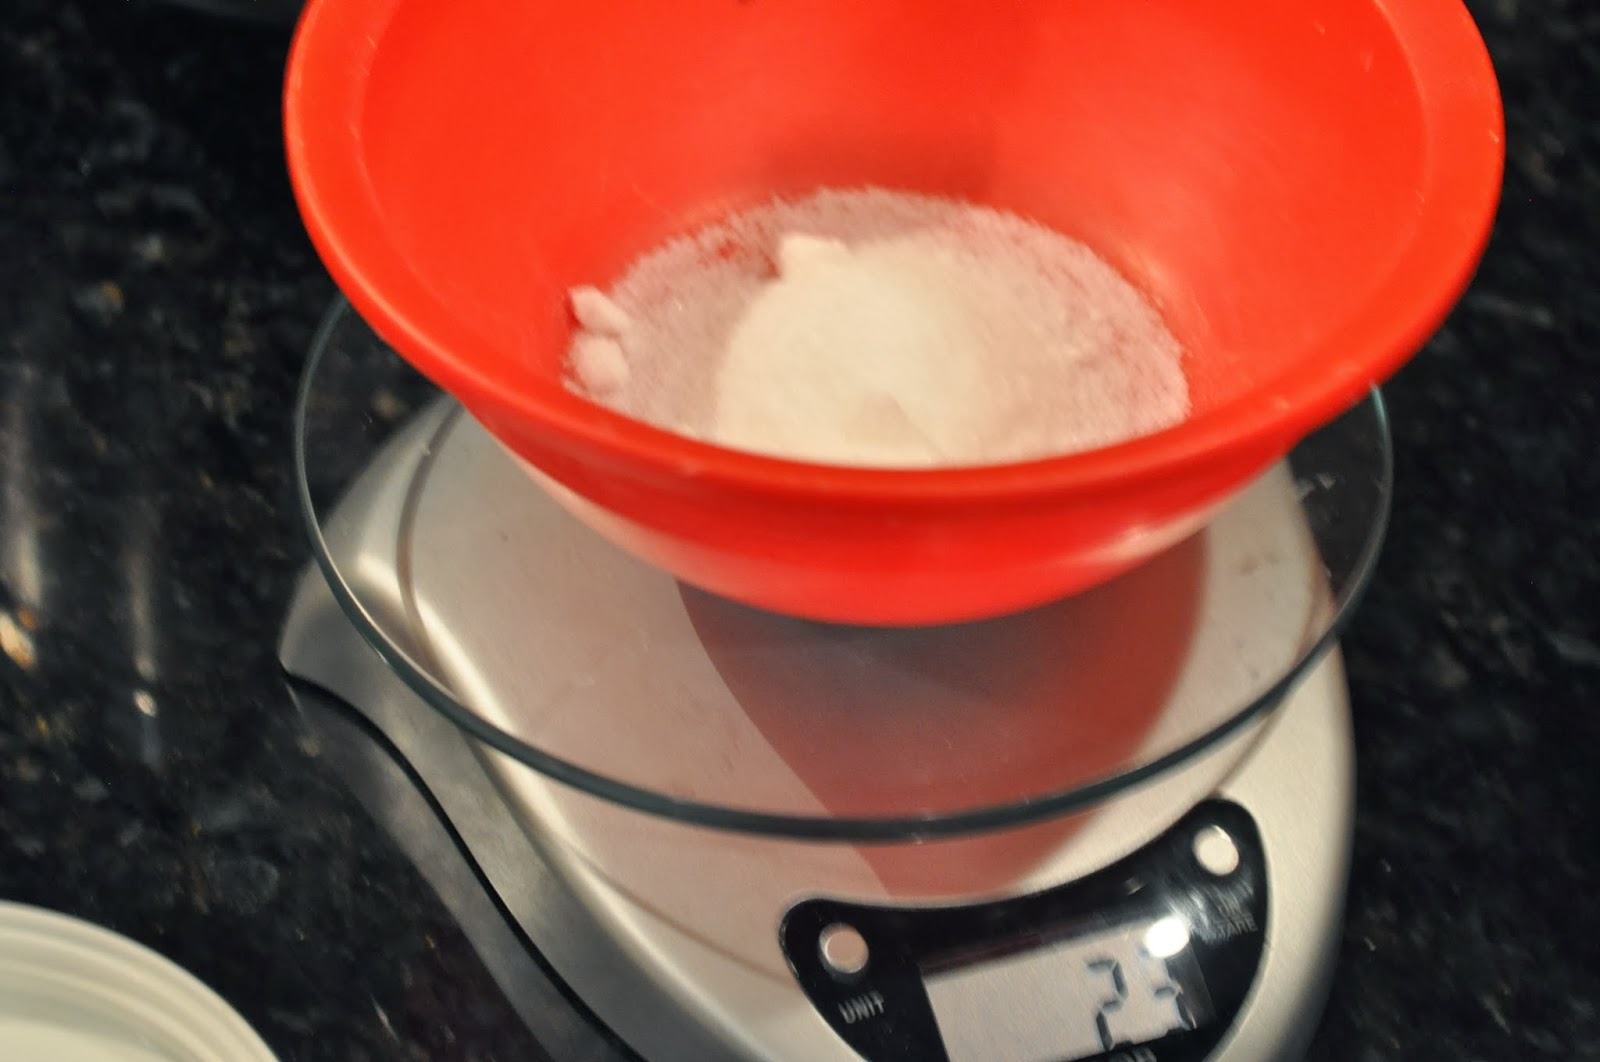
Uncle Vic begins his recipe by weighing out his
 dry and wet ingredients. For me I don't have a digital scale, or any scale for that matter, so in the recipe below I converted all the measurements to volume, however a part of me agrees that weight measurements would be more precise. Once your mise en place is complete we can begin to mix the meringue for the cake. The thing with a chiffon cake is that it doesn't have baking soda nor baking powder in the batter. For a cake to rise you need one of the two components, a mechanical leavener, or a chemical leavener. Usually in cakes and cookies we add baking soda or powder, these are called chemical leaveners. When they are baked they cause a chemical reaction in the batter that rises the cake. In things like puff pastry, or chiffon cake there are certain components in the dessert that cause it to rise. In puff pastry it is because of all the layers of fat and flour that expand when they're stack on top of each other. In chiffon cakes the air pockets in the meringue expand with steam causing the cake to rise. These are called mechanical leaveners. 


To make the meringue we will begin to whip our egg whites. Gradually add in 7 tablespoons of sugar when the whites are frothy and continue to beat until they reach stiff peaks. Just look at the picture. Set the bowl aside so we can make the base of our cake. 


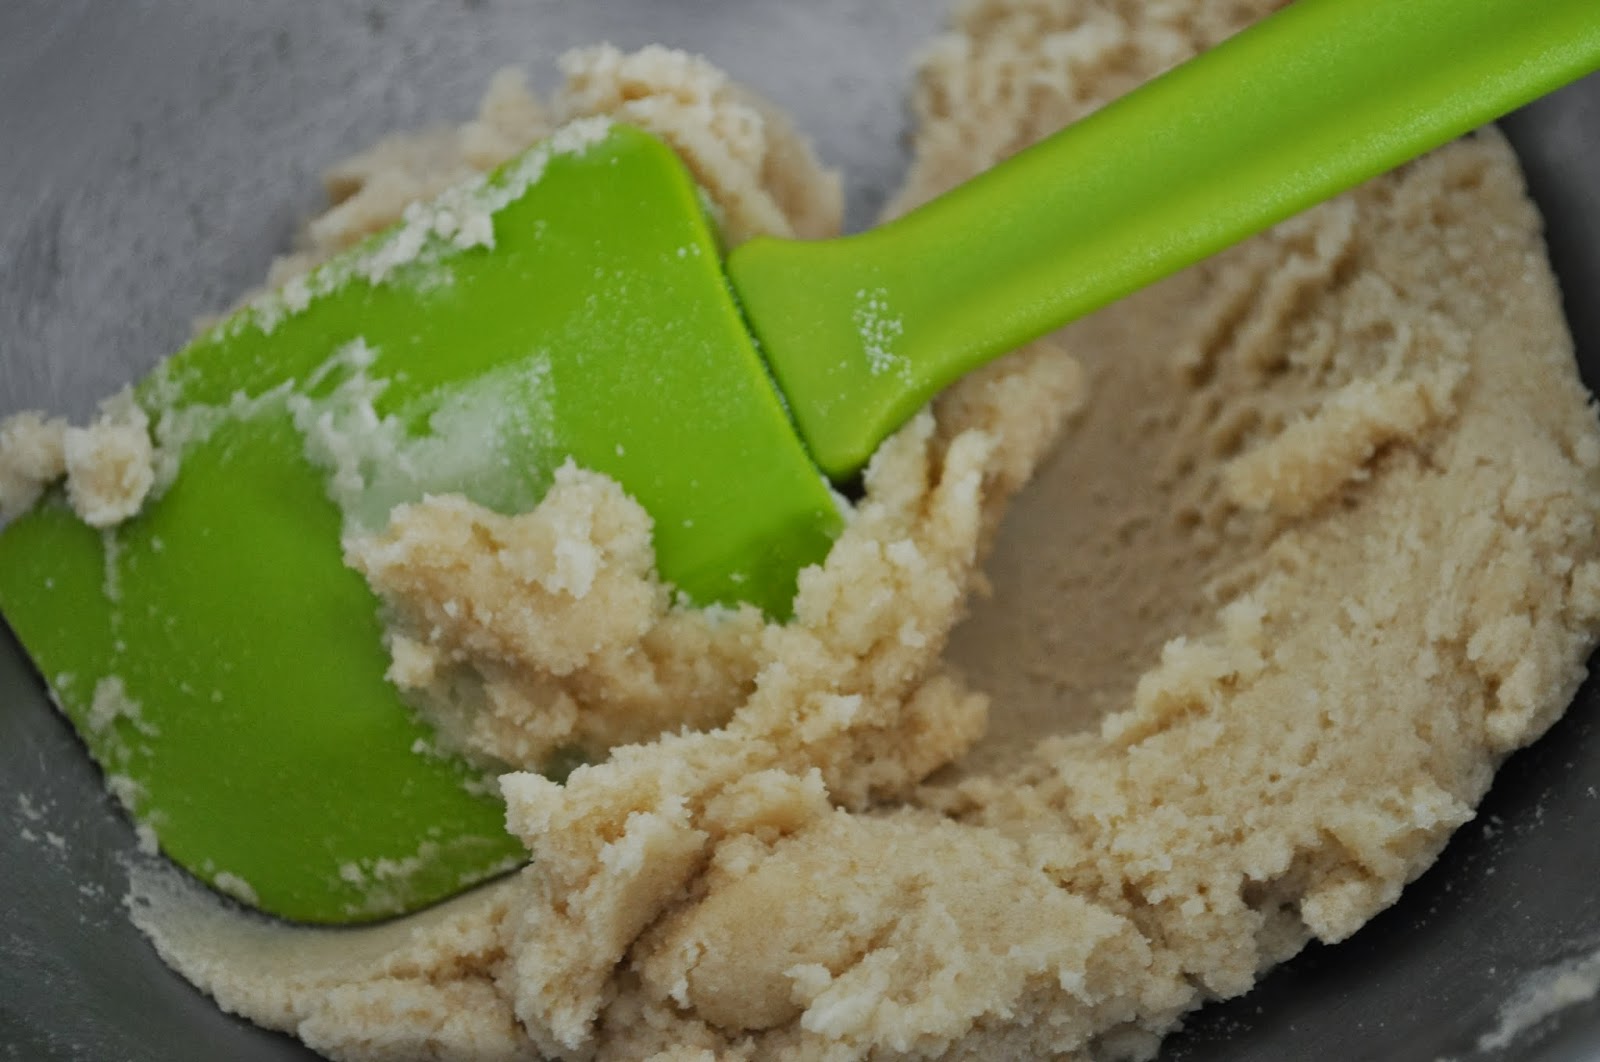
Whisk egg yolks and sugar until they are ribbon-like and pale. This is called blanchiring and it will make sure that our batter is smooth and lump free. Add the juice of about a quarter of a lemon to brighten the cake and lemon zest to showcase that lemon flavor. You could also use a teaspoon of lemon extract if fresh lemons are not in season. Drizzle in veggie oil to ensure that the cake is moist and tender. Add in the water. As you all know water and oil do not combine. If you're batter looks like it's split do not be alarmed, once we add in the dry ingredients everything will mix perfectly. In a separate bowl I want you to combine milk powder, cake flour, and salt until it is lump-free and add it into the cake. 


Stir till it is just combined. We don’t want to over work this, especially when we add in the meringue. You worked so hard for those delicate air bubbles in the meringue, take some care when you go through these final steps. The cake will continue to mix as we fold in the meringue so keep that in mind while you think about over mixing the cake. Begin by taking a third of the egg whites and mixing it into the batter. This helps to loosen the batter before we fold in the rest of the whites. Now comes the handiwork. Gently, gently fold in the meringue scraping from the bottom of the bowl around to the top, letting the bottom batter drop onto the top batter. Continue until almost all of the whites have disappeared. 


If you haven’t before, preheat the oven to 360. Lightly grease an 8x8 spring form pan and pour the batter in. Tap the cake on your countertop to release the bubbles trapped under the surface. This also makes sure that your cake rises evenly and the batter touches all of the corners of the pan. Bake the cake for about 30 minutes, or until the top is golden and a toothpick comes out cleanly. 


Uncle Vic taught me a pro tip that he learned in Taiwan. To defend against deflated and or concaved centers, while the cake is cooling flip it over on a wire rack. Because the cooler denser air surrounding the cake is much heavier than the hot airy cake center of the Chiffon, these types of cakes are notorious for their crater-like centers. By flipping the cake over you prevent gravity from making you look like a fool when you go to serve. But it probably won’t even matter because we'll be covering this entire cake with whipped cream anyways so who would know. You know what, you would know, and so would I, so don’t forget this critical step. Let it cool completely before you unmold it. The best would be overnight in the fridge. 


This cake is thick enough to slice into three layers. I suggest getting one of these turntables for perfect slicing and decorating. Even if you’re like me and cannot decorate for your life, it still makes it a lot easier to mess up your cake faster. So using a serrated knife go around the cake to make sure you have straight level layers. Once you are positive that every layer is perfect go ahead and color in the picture. For some reason slicing a cake reminds of those simpler days when I used spend my days in coloring books. Like for example...two days ago when I was scribbling in my favorite Toy Story coloring book, I first outlined Woody’s shoes before fully coloring inside the picture. It’s the same way with a cake, you have to outline before you cut. I'm not sure if you get the analogy but you get the idea. Now it's time to make the strawberry mousse.


This is my Five Second Strawberry Mousse. The first step is going to the store and buying a can of strawberry topping. You can find this in the pie filling aisle. Normally I wouldnt use this stuff but I think for something like this, where you've just baked an entire cake, this would be a necessary shortcut. The second step is using some of this non-dairy whip topping. 


It's similar to a cool whip except in liquid form. Actually if you could buy real heavy cream and make your own whipped cream, but this is all we had and it’s like ten times cheaper. Whip until stiff peaks, and fold in your strawberry topping. Use as much strawberry topping as you want, or until its to the color you want. If you're feeling daring, you could add fresh strawberries to the mix to cut that richness. And that's done! Now you can layer your cake. 


Take the bottom layer and spread on enough strawberry mousse to barely touch the edge. Remember when you stack up the layers the weight is going to squeeze some of the mousse to the edges so only spread the mousse barely to the edge. Repeat with the next layer. When you go to stack up the final layer flip the layer upside down so it has that professional inverted shape. Cover with regular white topping. You can use cool whip, whipped cream, frosting, or any like thing you can think of. Be creative, this cake is all up to the limits of your imagination. You can sprinkle on nuts or garnish with strawberries, even drizzle with chocolate. And you don’t have to layer it with strawberry mousse, you can make whatever filling you wanted. Like I said think outside of the box and let your wildest dreams run loose. After all if it taste terrible just drop it on the potluck table at your next get together and no one will even say a word. 


But that is it for this chow-fection. I hope you all had a wonderful Christmas, or hannakuh, I hope I spelled that right, I’m sure there are like 20 different spellings of that holiday. Anyways I hope you make this cake for New Years, and from the bottom of our Chowfectionary Studios family (me, myself, and I), I want to wish you all a happy, wonder-filled new years.
 And as always, 

Chow!

Recipe

Lemon Chiffon Cake
3/4 cup of cake flour
5 egg whites
4 egg yolks
4 1/2 tablespoon of milk powder
1/4 cup of vegetable oil
9 tablespoons of granulated sugar divided 
1/4 cup of water
1/2 tablespoon of vanilla extract
1/4 teaspoon of salt
a couple tablespoons of lemon juice
the zest of half a lemon

Five-Second Strawberry Mousse
1 cup of whipped topping
1/4 cup or so of strawberry topping

Whipped Topping for outside slathering
Nuts, berries, or other accompaniments are welcomed

You Might Like:

Roasted Strawberry Tart
Strawberry Cream Cheese Coffee Cake
Non Dairy Strawberry Banana Ice Cream

Coming Soon - Strawberry Mousse Chiffon Cake


It's been a while and I've been meaning to tell you but I've been on vacation in the far east for the past week. I know so exotic. Well by far I mean having to fly on an airplane, and by east I mean Atlanta. But that's okay I like Atlanta you guys are cool. Anyways while I was there a certain celebrity chef took me through the makings of his famous Chiffon Cake. I won't say who yet, but let's just say he's up and coming. Stay with me for his light and airy Lemon Chiffon Cake layered with my 5 Second Strawberry Mousse, you'll feel like your taste buds have sprouted wings and floated to heaven. So I hope you guys give this one a go, and I'll be sure to have the recipe up in a day or two. And as always, 

Chow!

Thursday, December 19, 2013

Nutella No-Bake Crumb Bars - "Fudge"ddaboudit


Are you cheap? Is it too much effort for you to get a shopping cart so you end up carrying all your groceries? Are you hungry? If you answered yes to any of the questions above  then, this chow-fection is perfect for you. Not only is this easy to make, but you can have better than store-bought fudge in under ten minutes. Yes, it's amazing what sugar, butter, and chocolate can do in the same amount of time it takes for you to take a dump. And although these bars are certainly fudgy I wouldn't necessarily call them fudge. When you sink your teeth into these bars the chocolate automatically melts on the tongue, but the oats provide a nice chewy, nutty finish. If the kids are itching to give the family gifts this is the perfect activity to get them involved. Not only are these super easy to make, but you're friends and family will finally know that you have the best kids in the family. So scroll down and check these out!


To start I am going to bring my sugar, butter, cream, and cocoa to a boil over medium heat. Once the butter has completely melted and the mixture boils, keep it on the heat for another minute. 


When you're all set add the oats and Nutella and stir it all together. The oats give this a somewhat nutty taste and crunch, and structure-wise they make for crumbtastic fudge.


I'm going to line an 8x8 pan with an aluminum sleeve, and oil it generously with either the paper from the stick of butter, or vegetable spray.


Pour the fudge in the pan and even it off. Make sure you touch every corner of the pan with the mixture and give it a tap on the counter to make sure there are no air bubbles. 


Now once this cools, which will take only a couple minutes, you could certainly cut into it and get your holiday on. But I like to eat this cold so I chucked mine into the refrigerator to set completely. When mine cooled I turned the pan out, and sliced up even pieces. For this recipe with the oats I like a rugged shape to my bars. To do this I chopped down at a slight angle really quickly to shard off large pieces of fudge. If you want you can do the traditional straight cut but whatever fudges you boat. 

You can roll these in anything you'd like, powdered sugar, cocoa powder, crushed pop rocks, but I kept mine plain and simple. Personally I think they taste better this way, or it's because I'm lazy like that but you can be the judge of that. 

There is one thing you have to be careful of. If you put too many oats in the fudge then they will not cut straight. Bits and pieces of fudge clumped with oats will fall off but do not be sad. These crumbs are perfect for a breakfast parfait. All you need to do is layer yogurt with your fudge crumble and berries and you have a fantastic morning snack. 


But that's the end of this chow-fection. I hope with your help we can make this christmas the fudgiest, bestest christmas there ever was. And as always, 

Chow!

Recipe
2 cups sugar
4 tablespoons cocoa powder
1 stick butter
½ cup heavy cream
½ cup Nutella
1 tablespoon vanilla extract
2 cups rolled oats


You Might Like:

Crunchy Chewy Orange Chocolate Cookies
Chewy Fudgy Brownies
Mini Blueberry Tarts

Coming Soon - Nutella No-Bake Crumb Bars

I cannot stress how easy this is. I mean you could literally have holiday fudge in less than 10 minutes. These bars are perfect for giving as gifts, or just for you selfish indulgent people. So I hope you check back for this amazing holiday chow-fection. And as always, 

Chow!

Sunday, December 15, 2013

Strawberry Cream Cheese Coffee Cake - Easily Coffee's Best Friend

This picture was stolen from Food Wanderings in Asia, check her recipe for the original

Someone asked me the other day, if you could be any type of dessert, what dessert would you be? (That never happened.) But without skipping a beat I said a coffee cake. See there are few desserts in the food universe that are allowed to jump meal times. One of these are the danish and the other is the coffee cake. And this coffee cake, is the king of all coffee cakes. I don't care if you're allergic to strawberries, or if you're lactose intolerant, what doesn't kill you makes you happier. This Strawberry Cream Cheese Coffee Cake has everything that you could possibly want in a dessert and a breakfast. So take your epinepherine shot so we can get started. 

Preheat your oven to 350. 
Because this dessert is composed of four different layers I'll go over each layer individually before assembly. 


For the cake I'm gonna start by combining my flour and sugar in a bowl. Take your butter that is reasonably cold, not frozen but definitely not melted, and cut the butter into the flour. If you don't have a pastry cutter then buy one, but if you're too cheap to do that, you can use two forks and some elbow grease. By the way that's not an extra ingredient, it's just a saying. If you want to skip all the hard work than a food processor can also be used. Once the mixture resembles coarse crumbs measure off 3/4 of a cup and set aside. This is going to be our traditional coffee cake crumb topping. 


Continuing with the rest of the cake batter, add the baking soda, baking powder, salt, and combine well. In another bowl whisk together your yogurt, lemon juice, egg, and vanilla. I've tried this recipe with sour cream and it worked beautifully, but what I've been meaning to try is using greek yogurt. I assume because the water has been strained out of the yogurt the cake would be a little drier, but if someone is willing to take the risk please comment below on how it worked out. 


Pour the wet mixture into the dry and stir thoroughly. It'll look really ugly, but do not panic. Those lumps will smooth out in the oven. 


I knew I was meant to make this cake because God told me so. It turns out I had exactly 1 cup of cream cheese left, the exact amount to make this recipe! I know I was as stoked as you were. 


So now it's time to make the cheese layer, which could not be any simpler. With a whisk, or a mixer, beat your room temperature cream cheese until smooth. I cannot stress room temperature enough, save us both the trouble and just leave it out early. To our smooth cream cheese we are going to add in the egg and sugar and blend thoroughly. Now that that's done we can move on to the jam. 


If you were making your own jam, which I'm not, the recipe would follow. My ol' friend Martha provided this recipe.
Strawberry Jam 
For me, I'm just going to use my local costco's standard strawberry preserves. Microwave this for 30 seconds or until it's runny and shines. By the way, I forgot to do this and mine was really hard to spread, but I'll explain that more later.


We have all of our layers ready so let's assemble. Spray an 8 inch spring form pan and line the bottom with a circle of parchment. The circle doesn't have to be exact, it's only for extra protection. We don't need any accidents, if you know what I mean. Pour the batter into the mold, and using a spoon, push the batter a half an inch up the sides to create a well to pour in the cream cheese. It's crucial that when you pour in the cream cheese, you do not let it touch the sides of the pan. Be very careful. After this dollop your teaspoons of jam onto the cheese center and spread an even layer over the cake. After you are satisfied with your spreading skills, sprinkle the reserved crumble on top. I never took a jam spreading class so my spreading was a little funky. I was too embarrassed to show you how mine looked so I just didn't. 


You want to bake this for 50-55 minutes, or until the top is golden, and a toothpick inserted comes out clean. Don't bother testing the cake until after 40 minutes. When you think it's ready let the cake rest with the oven door ajar. I just stuck a spoon in the oven door. Keep it in their for about 10 minutes, this will help the cream cheese part to not crack. After letting it rest, set it on the counter top until it's cool enough to handle. After it's cool enough to handle unmold it and chuck it into the fridge to completely cool. I was too impatient and I cut it before it was ready. Completely ruined one side of the cake, but I wasn't worried cause it still tasted amazing. 


Your tribulations will be rewarded for this is one of the most moist, delicious, beautiful desserts on the market. Some people even call this visual poetry, looking at the picture I have to agree. When you serve this to your friends they'll be amazed, and more importantly proper hierarchy will be restored. So I really, really hope you give this a try. And as always, 

Chow!


So beautiful


Recipe


For the Cake and Crumble
2 cups all purpose flour
3/4 cup sugar
1/2 cup butter, cold and cut into chunks
1/2 tsp baking soda
1/2 tsp baking powder
1/4 tsp salt
3/4 cup sour cream or yogurt with one tablespoon of lemon juice
1 large egg
1 tsp vanilla extract

For the Filling
8oz or 1 cup cream cheese, room temperature
1/4 cup sugar
1 large egg

Jam

Saturday, December 14, 2013

Coming Soon - Strawberry Cream Cheese Coffee Cake

I know, I need to start shortening these titles, I think I'm on track to using up all of the adjectives in the dictionary by the end of this year. Anyways, this week have a new delicious chow-fection for you, one you won't be able to keep your face hole away from. It's my Strawberry Cream Cheese Coffee Cake. One of my favorite things about coffee cakes are that no one yells at you  for eating cake for breakfast, omitting the pancake. That's why I tried to combine all of my favorite desserts into this chow-fection because when is the next time my mom is gonna let me eat cake for breakfast, probably never. So I hope you stay tuned for this one. And as always, 

Chow!

Eating Desserts For Breakfast : Being Yelled At :: Eating Coffee Cake : Trump Card
Hopefully this doesn't give any of you flashbacks to those dreadful SAT studying days.  

Tuesday, December 10, 2013

Crunchy Chewy Orange Chocolate Cookies - Happy National Cocoa Day

Instead of the traditional single bite shot, I decided to go with the more daring double bite.

As you all know on December 12th it's National Cocoa Day! So in recognition of this truly special food holiday, I decided to make a chow-fection that embodied everything I love about cocoa, while presenting it in a shape we all know and love. Thus the birth of the Crunchy Chewy Orange Chocolate Cookie, and the extra fold in my love handle. But we can work that off later however there's no better excuse to make these cookies other than right now. Using a little bit of my scientific knowledge I was able to combine my two favorite textures to create a cookie unlike any you have ever tried, so stay tuned for the secret shortly. But without further-ado let's get started! 


To begin I'm going to whisk together my All Purpose (AP) flour, my salt, baking powder, and cocoa powder. You don't need to dirty a sifter when whisking proves just as effective. 


In another bowl you want to cream together your butter and sugars until light and creamy. The reason why I use a brown and white sugar is because I want that chewy rich texture that the molasses in the brown sugar provides. If you use a stand-mixer fitted with a paddle it'll take about 3 minutes but I'm just gonna do it the ol' fashioned way. With my lime green spoonula I'm gonna press together the softened butter and my sugar against the side of the bowl with the tip, and continue doing that for 4 minutes or, until the mixture is homogenous. Right about there. 


When you have that beat in the eggs and vanilla. 


Fold in the dry mix until just about combined and mix in the orange juice and zest. Don't let the picture fool you. Although the spoonula was used in the folding process, I found it much easier to just get dirty with my hands. For dignity purposes I didn't show you the pictures of me cleaning my hands because I think you know what I did instead. At this stage the dough will be fairly stiff. Remember that overmixing the dough will make these cookie tough. 

By experience I know Santa does not like tough cookies, that's why last year he didn't come to our house. Hopefully this year I've learned my lesson and can resist the temptation. So at this point your dough should be nice and thick. Although I did not, white chocolate chips would have made this cookie that much better, aesthetically and taste wise so add them now if you wish. You could wrap this up and freeze for up to two weeks if you didn't plan to use it right away. Regardless wrap the dough and chuck it into the fridge to harden for 30 minutes. This also gives the cookies a chance to rest so the flavors meld and are fully awake when we bake. 


Take a tablespoon and measure out equally sized cookies. It really doesn't matter how large you make them as long as you adjust your baking time. Roll them into a ball with your hands and place them on a greased baking pan a couple centimeters apart. To make professionally beautiful balls dip your hands in water so you don't get dirty and the cookies shine. You should be able to make two pans. Or four pans of six if you want to take beautifully spaced pictures. 

Bake them in a 360 degree oven for about 12 minutes or until the top is dry, that's the key. If you made larger cookies all you need to look for are that the tops are dry. This makes the perfect cookie every time. While the cookies are baking I thought this would be the perfect time to lecture you on what goes on in the oven as the cookies bake.  

At 92 F butter melts. This is why our cookies spread out. Because butter is an emulsion, which means it's a combination of oil and water, as it melts the water molecules are released. As the cookies get hotter the water turns into steam which expands and tries to escape through the cookie walls. As you know, water boils off at 212 F so like a patty of mud drying in the sun your cookie will stiffen. The steam that bubbles away leave airy pockets in the cookie, this makes it light and delicate. Arguably cooking's tastiest chemical reaction occurs at 310 F, these are called Maillard Reactions. They occur when proteins and sugars break down and combine to create ring like structures, which give foods their golden brown color. But Maillard isn't only good for the cookies' appearance. At this temperature it develops a range of nutty rich flavors which give depth and body to milk's best friend. 

The thing that sets these cookies apart is the texture we achieve by turning the temperature up to 360 F. At 356 F caramelization occurs. The traditional cookie baked at 350 never reaches the final stage of the cooking process. This means the sugars inside the cookie break down and crystallize creating a crunchy, crispy exterior, while maintaining a chewy interior. I think this combination of crunchy outside, and chewy inside make this cookie stand out from the norm and is definitely worth the try. However if you prefer the traditional soft cookie just turn the oven down.


So now that I've taught you all the science I know I'm pretty much useless. Leave to cool on the pan for 5 minutes. Transfer to a wire rack and serve warm with milk. Santa will surely come to your house once he smells these cookies. But if he doesn't, don't worry, that's just more for yourself. 


The first batch is on the right, the thinner, chewier, more superior cookie is on the left


If you look at the picture above I must admit, I was not very proud of my first attempt. I wished they were a little thinner and more spread out so once the first batch cooled I transferred them to a wire rack and layered on another batch. This time I made sure to flatten the cookies just a little bit before they went into the oven. As you can see on the right, the cookies were just a little thinner, but the chewiness definitely increased. I like my cookies to be thin and almost bendable, cakey cookies (although the alliteration is uncanny) do not float my boat. 


But I hope you enjoyed this week's chow-fection. The deep, rich chocolatey flavor really balanced out with the acidity of the orange making this a delicious holiday treat. So I highly suggest you make these for your loved ones this holiday season and stay tuned for more! And as always, 

Chow!


Recipe
1 cup all purpose flour
1/2 teaspoon baking powder
1/2 teaspoon salt
1/2 cup unsweetened cocoa powder
8 tablespoons (1 stick) unsalted butter, at room temperature
1/3 cup brown sugar
1 cup of white sugar
1 egg
1 teaspoon vanilla extract
1 tablespoon orange juice and 1 teaspoon grated zest from 1 orange

chocolate chips of your choice (optional, but suggested)

You Might Like:

Saturday, December 7, 2013

Coming Soon - Crunchy Chewy Orange Chocolate Cookies


I'll be showing you how to make one of the easiest, most delicious cookies on the market, Chewy Chocolate Orange Cookies! Inspired by my love for oranges and chocolate there's no way you could mess up this recipe. Well, unless you mistook the sugar for salt. Or if you forgot to turn on the oven and waited all day for you cookies to bake. Or if you listened to a song that was not christmas related while you were baking these cookies. But other than that, as long as you don't do the three mentioned before, there's practically nothing that can stop in your way. So stay tuned for that. And as always, 

Chow!

Type in a Recipe or an Ingredient